
 Introduction:
How to restain kitchen cabinets?
Restaining kitchen cabinets is an affordable and effective way to refresh the look of your kitchen and enhance its aesthetics. It allows you to update the style, improve durability, and even change the color of your cabinets to match your desired design. In this comprehensive guide, we will walk you through the process of restaining kitchen cabinets. From preparation and removal to staining and finishing, you will learn the necessary steps to achieve professional-looking results and transform your kitchen space.
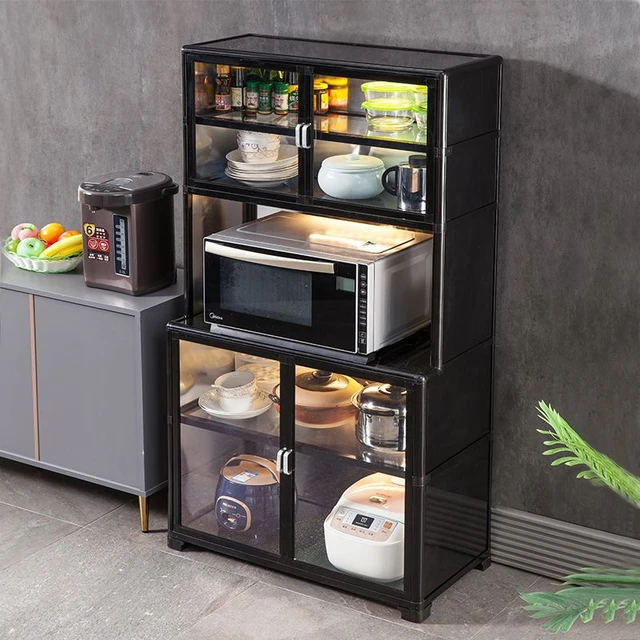
Some common cabinet types:
When it comes to the types and placement of kitchen cabinets, there are various options to consider. Here are some common cabinet types and their suitable placement locations in the kitchen:
Base Cabinets:
Base cabinets are placed on the floor and serve as the foundation of kitchen storage. They are typically located below the countertops and provide storage for larger items like pots, pans, and small appliances. Base cabinets are commonly installed along walls and in the kitchen island.
Wall Cabinets:
Wall cabinets are mounted on the wall above the countertops. They offer additional storage space for frequently used items and are ideal for dishes, glassware, and spices. Wall cabinets are usually installed between countertops and the ceiling, maximizing vertical space.
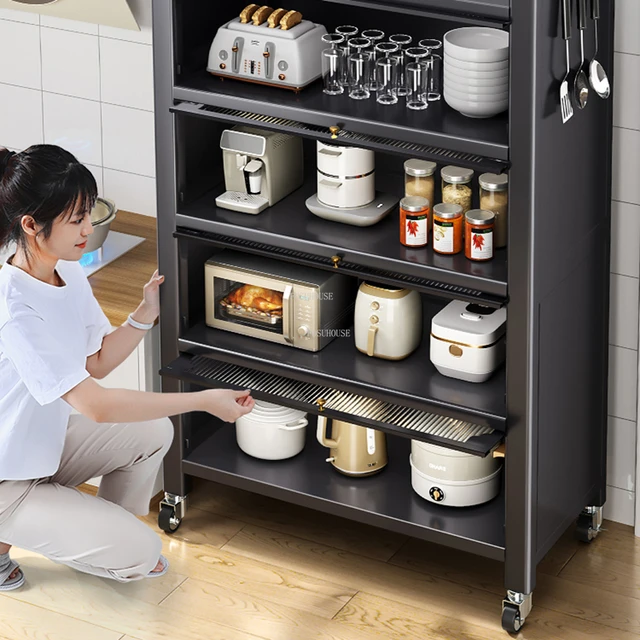
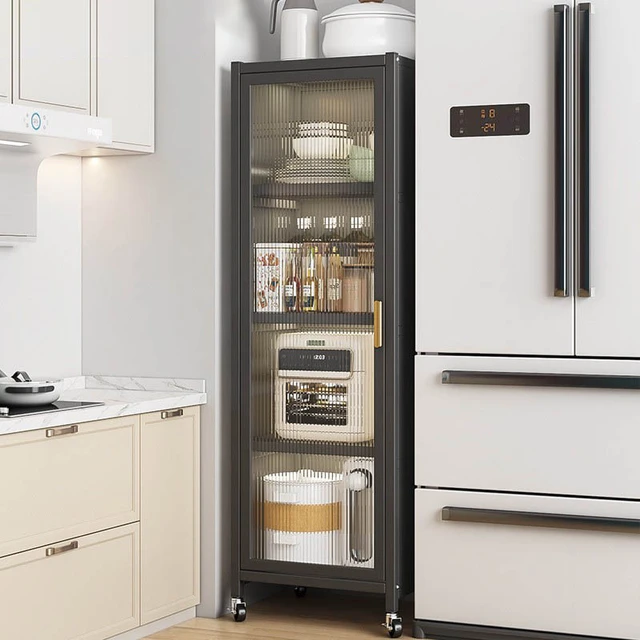
Tall Cabinets or Pantry Cabinets:
These cabinets are taller and narrower, designed to provide vertical storage space. They are commonly placed alongside the refrigerator or in a designated pantry area to store items like brooms, mops, food staples, and tall kitchen appliances.
Corner Cabinets:
Corner cabinets are specifically designed to utilize corner spaces, which tend to be underutilized in kitchen layouts. They are placed in the corners of the kitchen and feature special mechanisms like rotating lazy Susans, pull-out drawers, or swing-out shelving, to maximize storage and accessibility.
Upper Cabinet Heights:
Upper cabinets can be positioned at different heights, depending on individual preferences and kitchen design. Standard upper cabinets generally start around 54-60 inches above the floor, but the height can be adjusted to accommodate specific needs and design requirements.
Island Cabinets:
Kitchen islands often feature base cabinets, providing a combination of storage and countertop space. These cabinets can be used to store cookware, utensils, or small appliances while also creating additional workspace in the kitchen.
Glass-Front or Display Cabinets:
Glass-front or display cabinets are installed in strategic locations to showcase decorative or visually appealing items like fine china, glassware, or collectibles. They are commonly placed above countertops, islands, or in dining areas as a focal point.
Placement of cabinets within the kitchen depends on factors such as available space, layout, and individual needs. It’s important to consider functionality, ergonomics, and accessibility when deciding on the placement of different cabinet types within the kitchen layout.
 Preparing the Cabinets
Proper preparation is essential to ensure a successful restaining project.
A. Removing Cabinet Hardware: Take off all cabinet hardware, including hinges, handles, and knobs.
B. Emptying the Cabinets: Remove all items from the cabinets to provide clear access for restaining.
C. Cleaning the Cabinets: Thoroughly clean the cabinet surfaces with a gentle cleaner to remove grease, dirt, and any residue.
Removing the Existing Finish
Removing the existing finish helps prepare the cabinets for restaining.
A. Sanding the Cabinets: Use a medium-grit sandpaper to gently sand the cabinet surfaces, removing the top layer of the existing finish.
B. Removing Stain or Varnish: Apply a chemical stripper to remove any residual stain or varnish. Follow the manufacturer’s instructions carefully.
C. Stripping the Cabinets: Use a scraper or putty knife to scrape off the softened old finish. Repeat the process as needed until the cabinets are free of the old stain or varnish.
 Repairing and Preparing the Surfaces
Repairing and preparing the cabinet surfaces ensures a smooth finish.
A. Filling Holes or Gouges: Use a wood filler to fill any holes, gouges, or cracks in the cabinets. Allow it to dry thoroughly and sand it down to ensure it is level with the surrounding wood.
B. Sanding the Cabinets Again: Lightly sand the cabinet surfaces using a fine-grit sandpaper to smooth any rough areas and create a clean, even surface.
C. Cleaning the Cabinets Again: Wipe down the cabinets with a damp cloth to remove any sanding residue and ensure a clean surface for staining.
Staining the Cabinets
Staining the cabinets is the key step in the restaining process to achieve the desired color.
A. Choosing the Stain: Select a stain color that matches your desired aesthetic and ensures compatibility with the wood.
B. Applying the Stain: Use a brush, sponge, or cloth to apply the stain evenly and in the direction of the wood grain. Start with the back of the cabinet doors and work your way to the front.
C. Wiping Off Excess Stain: After applying the stain, use a clean cloth to wipe off any excess stain to achieve the desired color intensity.
Applying a Protective Finish
Applying a protective finish adds durability and enhances the beauty of the stained cabinets.
A. Choosing the Finish: Decide on the type of finish you prefer – such as polyurethane, varnish, or lacquer – based on the level of protection and appearance you desire.
B. Applying the Finish: Use a brush or sprayer to apply thin, even coats of the chosen finish to the stained cabinets. Follow the manufacturer’s instructions regarding drying times and the number of coats needed.
C. Sanding between Coats: Gently sand the cabinets with fine-grit sandpaper between each coat of the finish to ensure a smooth and professional-looking surface.
 Reassembling and Installing Cabinet Hardware
Reassemble and reattach the cabinet hardware to complete the restaining project.
A. Cleaning the Hardware: Clean the hinges, handles, and knobs before reinstalling them on the cabinets.
B. Reattaching the Hardware: Use a screwdriver or drill to reattach the cabinet hardware, ensuring they are securely fastened and properly aligned.
 Conclusion
Restaining kitchen cabinets is a rewarding DIY project that can transform the look and feel of your kitchen. By following the steps outlined in this guide, from preparing and removing the existing finish to staining and applying a protective finish, you can achieve professional-quality results. Remember to take your time, pay attention to detail, and ensure proper ventilation when working with chemicals or finishes. Embrace the satisfaction of completing the restaining process and enjoy the refreshed appearance of your newly transformed kitchen cabinets.