 Introduction:
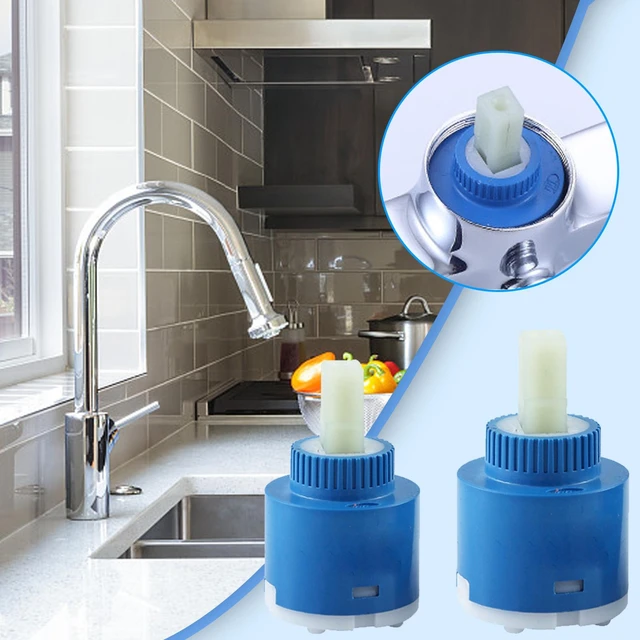
Replacing a kitchen faucet cartridge is a common repair task that can restore the functionality of your faucet and prevent leaks. The cartridge is a crucial component that controls the flow of water and temperature. In this comprehensive guide, we will provide a step-by-step approach to replacing a kitchen faucet cartridge. Whether you have a single-handle or double-handle faucet, this guide will help you complete the replacement process easily and efficiently.
 Introduction to Kitchen Faucet Cartridge Replacement
Replacing the cartridge in a kitchen faucet is necessary when the faucet leaks, drips, or has difficulty controlling water temperature.
A. Importance of Cartridge Replacement: The cartridge ensures smooth operation and prevents water leaks, extending the lifespan of your faucet.
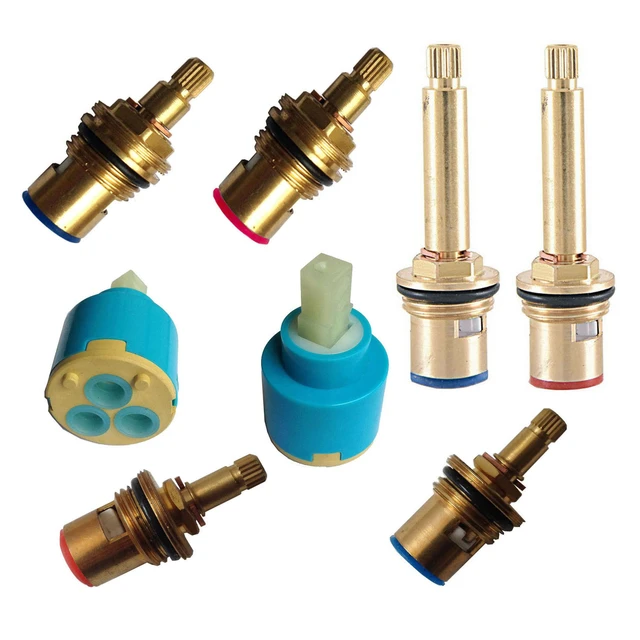
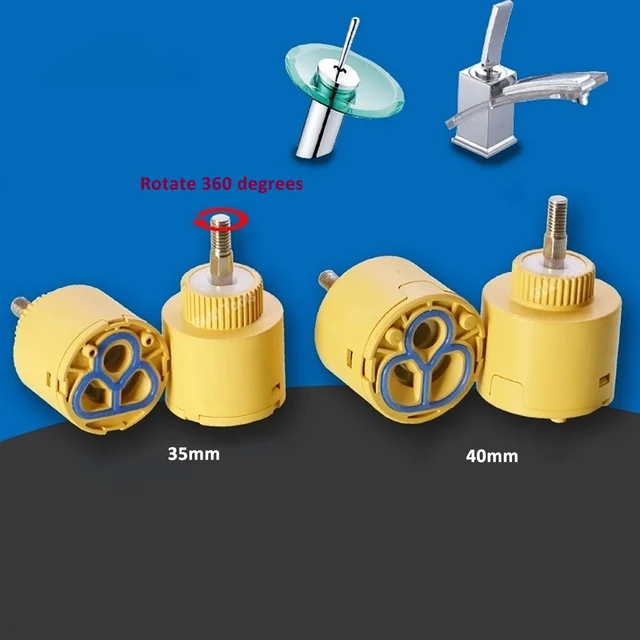
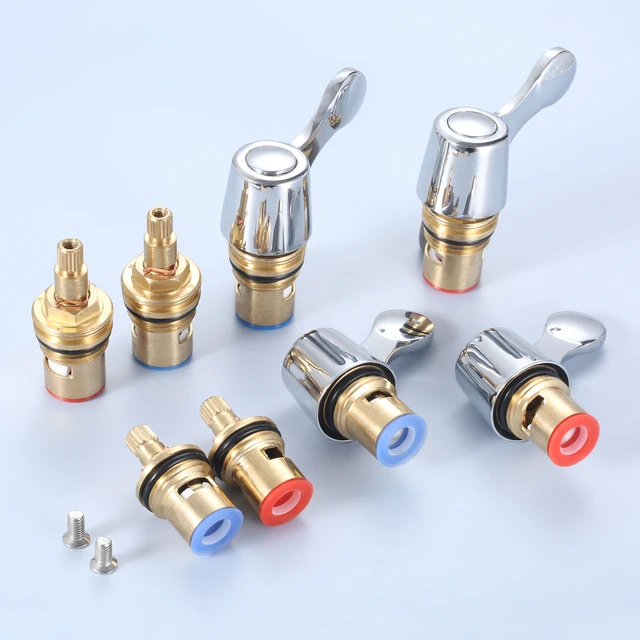
B. Types of Cartridges: Cartridges can vary depending on the faucet’s make and model, commonly available as ceramic or cartridge-disc types.
The primary functions of a kitchen faucet cartridge:
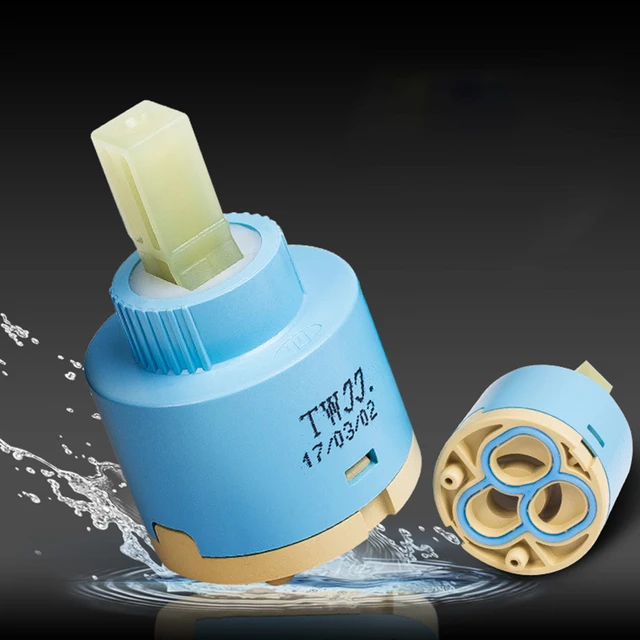
The kitchen faucet cartridge is a crucial component that controls the flow of water and regulates the temperature of the water in a kitchen faucet. It is responsible for ensuring smooth and efficient operation of the faucet. Here are the primary functions of a kitchen faucet cartridge:
Control Water Flow:
The cartridge is designed to control the flow of water from the faucet spout. It has openings and channels that allow water to pass through and reach the desired output. By adjusting the handle or lever, the cartridge opens or closes, regulating the flow of water.
Temperature Regulation:
Many kitchen faucet cartridges come with temperature control features. They allow users to adjust the temperature of the water based on their preferences. By rotating the handle or lever associated with the cartridge, users can blend hot and cold water to achieve the desired temperature.
Drip Prevention:
A well-functioning cartridge helps prevent faucet leaks and drips. It ensures a watertight seal when the faucet is in the closed position, preventing any unnecessary water wastage. If the cartridge becomes worn or damaged, it may result in leakage, which would require repair or replacement.
Smooth Operation:
The cartridge plays a crucial role in providing smooth and effortless operation of the kitchen faucet. Its design allows for easy turning and adjustment of the handle or lever, ensuring a comfortable and user-friendly experience.
Durability:
The materials used in the construction of the faucet cartridge contribute to its durability and longevity. High-quality cartridges are designed to withstand frequent use and resist deterioration due to exposure to water and minerals in the plumbing system.
In summary, the kitchen faucet cartridge enables control over water flow and temperature, prevents leaks, ensures smooth operation, and contributes to the overall functionality of the faucet. Regular maintenance, such as cleaning and replacing worn cartridges, can help maintain optimal performance and extend the lifespan of your kitchen faucet.
 Gathering Tools and Materials
Before starting the replacement process, gather the necessary tools and materials.
A. Tools: Essential tools for the job may include an adjustable wrench, screwdriver, pliers, allen wrench, and silicone grease.
B. Replacement Cartridge: Identify the correct replacement cartridge for your specific faucet model and have it on hand.
Shutting off the Water Supply
Before removing the old cartridge, it’s crucial to shut off the water supply to avoid any leaks or water damage.
A. Locate Water Shut-off Valves: Find the water shut-off valves under the sink and turn them clockwise to shut off the water supply.
B. Release Pressure: Turn on the faucet and let any remaining water drain out to release any built-up pressure.
Removing the Handle
To access the cartridge, you will need to remove the faucet handle.
A. Set Screw Removal: Use an Allen wrench or screwdriver to remove the set screw located either on top of or beneath the handle.
B. Handle Removal: Gently pull or twist the handle to remove it from the faucet, exposing the cartridge.
Removing the Cartridge
Once the handle is removed, it’s time to remove the old cartridge.
A. Retaining Clip: Look for a retaining clip or retaining nut holding the cartridge in place, depending on the faucet model.
B. Removal Process: Use pliers or an adjustable wrench to loosen and remove the retaining clip or nut.
C. Pulling Out the Cartridge: Carefully pull out the cartridge from the faucet body, using gentle force if necessary.
 Installing the New Cartridge
With the old cartridge removed, it’s time to install the new one.
A. Lubrication: Apply a thin layer of silicone grease to the O-rings of the new cartridge for smooth operation and to prevent leaks.
B. Alignment: Align the notches or tabs on the cartridge with the corresponding slots inside the faucet body.
C. Pushing In the Cartridge: Firmly push the cartridge into place until it sits flush with the faucet body.
VII. Reassembling the Faucet
Once the new cartridge is installed, reassemble the faucet.
A. Retaining Clip or Nut: Reattach the retaining clip or nut to secure the cartridge in place.
B. Handle Reattachment: Slide or twist the faucet handle back onto the cartridge and secure it with the set screw.
Restoring Water Supply and Testing
After reassembling the faucet, it’s time to restore the water supply and check for any leaks.
A. Turn on the Water Supply: Slowly turn on the water shut-off valves to restore the water supply to the faucet.
B. Test for Leaks: Run the faucet and check for any leaks around the cartridge or handle area.
Some tips for maintaining and cleaning your kitchen faucet cartridge:
Proper maintenance and regular cleaning of the kitchen faucet cartridge can help ensure its longevity and optimal performance. Here are some tips for maintaining and cleaning your kitchen faucet cartridge:
Regular Inspection:
Periodically inspect the cartridge for any signs of wear, such as cracks or leaks. If you notice any issues, it may be necessary to replace the cartridge or call a professional plumber for assistance.
Cleaning Routine:
Incorporate cleaning the cartridge into your regular kitchen cleaning routine. Use a soft cloth or sponge and mild cleaning solution to wipe down the exterior of the cartridge and remove any dirt or residue.
Removing Mineral Deposits:
If your faucet cartridge is prone to mineral deposits or limescale buildup, it may affect its performance. To remove these deposits, soak the cartridge in vinegar or a descaling solution for a few hours. Scrub gently with a soft brush to remove any remaining buildup, and rinse thoroughly with water before reinstalling.
Flushing the Cartridge:
If you notice reduced water flow or poor performance from your faucet, it may be helpful to flush the cartridge. Turn off the water supply, remove the cartridge, and rinse it under running water to remove any debris or sediment that may have accumulated. Reinstall the cartridge and test the faucet for improved flow.
Lubrication:
Some cartridges benefit from occasional lubrication to ensure smooth operation. Check the manufacturer’s instructions to see if lubrication is recommended for your specific cartridge. If so, use a plumber’s grease or silicone-based lubricant sparingly on the moving parts of the cartridge.
Regular Maintenance:
Periodically check the handles, joints, and connections associated with the cartridge for any signs of rust, looseness, or leaks. Tighten any loose connections and repair any leaks promptly to prevent further damage to the cartridge or other components.
Remember to consult the manufacturer’s guidelines and instructions specific to your kitchen faucet and cartridge. These guidelines may provide additional information and recommendations for maintenance and cleaning that are tailored to your specific model.
 Conclusion
Replacing a kitchen faucet cartridge is a simple and effective solution to fix leaks and restore proper functionality to your faucet. By following the step-by-step guide provided in this article, you can successfully complete the cartridge replacement process. Remember to gather the necessary tools and replacement cartridge, shut off the water supply, remove the handle, and carefully replace the old cartridge with the new one. Take your time and check for any potential leaks before considering the job complete. With these steps, you can maintain a functional and leak-free kitchen faucet for years to come.