A kitchen island serves as the heart of your culinary space, providing both aesthetic appeal and functional benefits. Among the various materials available, white oak stands out for its timeless beauty, durability, and versatility. This comprehensive guide will explore the advantages of choosing a white oak kitchen island, design ideas, maintenance tips, and much more.
 Why Choose White Oak for Your Kitchen Island?
Timeless Aesthetic
Natural Beauty: White oak is known for its distinctive grain patterns and warm, natural color. Its subtle elegance adds a touch of sophistication to any kitchen.
Versatile Style: White oak complements a variety of design styles, from traditional to modern. Whether you prefer a rustic farmhouse look or a sleek contemporary design, white oak fits seamlessly.
Durability and Strength
Hardwood Longevity: White oak is a hardwood, making it resistant to dents and scratches. It’s an excellent choice for kitchen islands that see a lot of daily use.
Water Resistance: White oak is naturally resistant to moisture, making it ideal for kitchens where water spills are common.
Environmental Benefits
Sustainability: White oak is a sustainable material when sourced from responsibly managed forests. Choosing white oak for your kitchen island can be an environmentally friendly choice.
Biodegradable: Unlike synthetic materials, white oak is biodegradable and can be repurposed or recycled at the end of its life.
Design Ideas for a White Oak Kitchen Island
Classic Farmhouse
Rustic Charm: A white oak kitchen island with a distressed finish can add rustic charm to a farmhouse-style kitchen. Combining it with other natural materials, such as stone countertops and reclaimed wood accents, enhances the overall look.
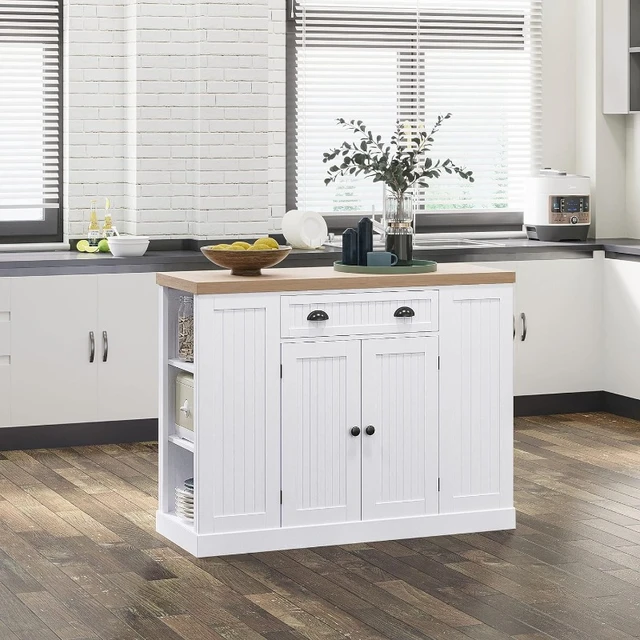
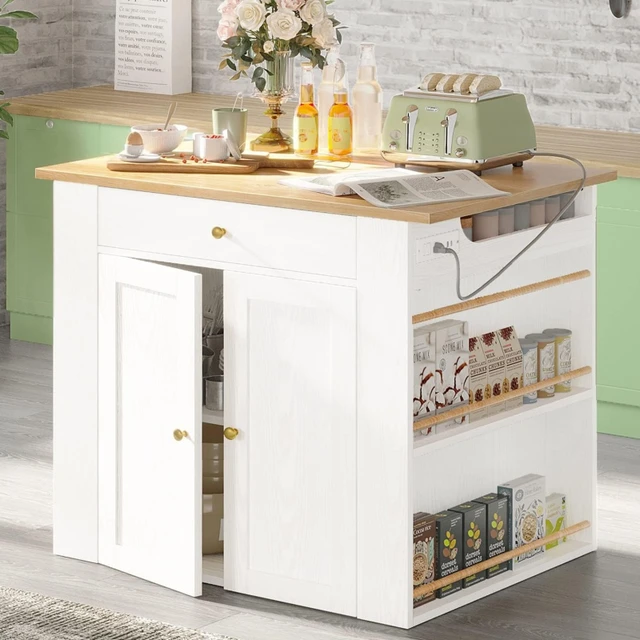
Open Shelving: Incorporate open shelving to display vintage kitchenware or baskets, adding both functionality and aesthetic appeal.
Modern Minimalism
Sleek Lines: For a modern look, opt for a white oak kitchen island with clean lines and a smooth finish. Pair it with minimalist fixtures and monochromatic color schemes for a sleek, contemporary feel.
Integrated Appliances: Incorporate built-in appliances, such as a wine cooler or microwave, to maintain the island’s streamlined appearance.
Transitional Style
Blend of Old and New: Transitional design bridges the gap between traditional and modern styles. Choose a white oak kitchen island with classic detailing, such as paneled sides, but keep the overall design sleek and simple.
Neutral Palette: Use a neutral color palette with pops of color through accessories or bar stools to create a balanced, inviting space.
Industrial Chic
Metal Accents: Combine white oak with metal accents, such as stainless steel countertops or iron lighting fixtures, to achieve an industrial chic look.
Edgy Design: Opt for a white oak island with a raw, unfinished look. Pair it with exposed brick walls or concrete flooring for added texture and character.
 Functional Features to Consider
Storage Solutions
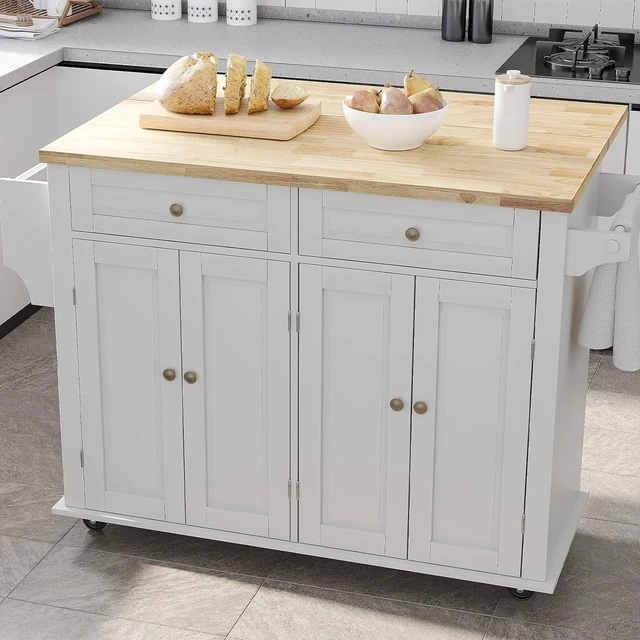
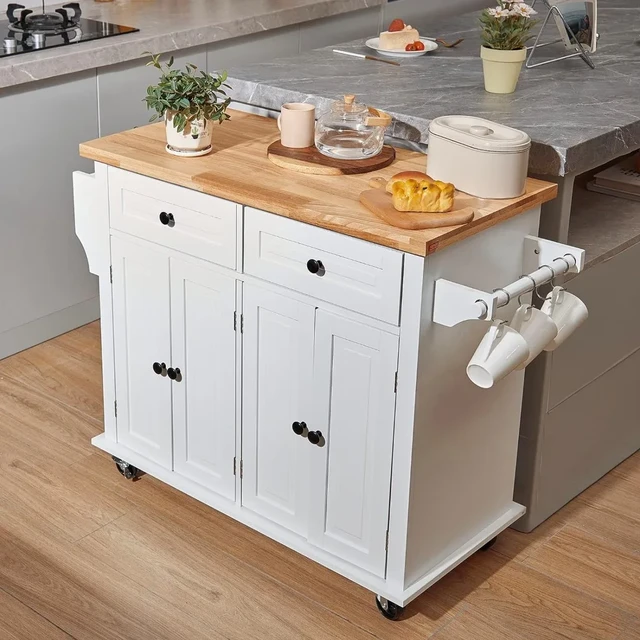
Drawers and Cabinets: Ensure your white oak kitchen island offers ample storage space. Include a mix of drawers and cabinets to store utensils, cookware, and other kitchen essentials.
Built-In Pantry: A built-in pantry within the island can provide additional storage for dry goods and small appliances, keeping your kitchen organized.
Seating Options
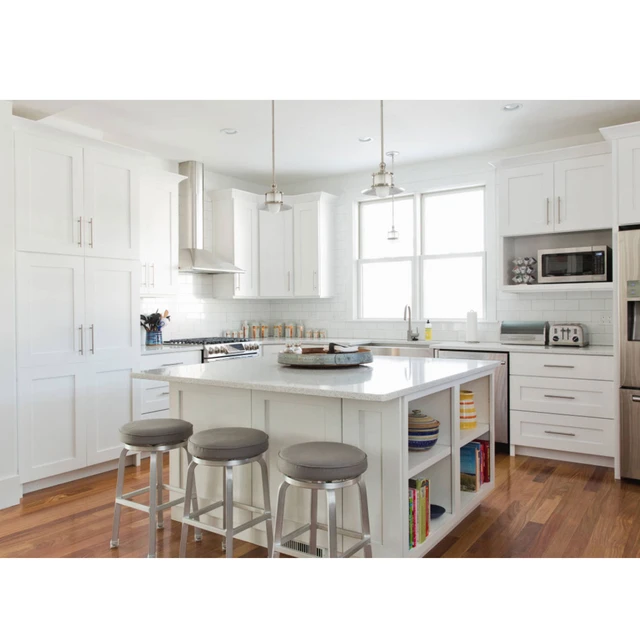
Breakfast Bar: Create a breakfast bar by extending the countertop on one side of the island. Add bar stools for a casual dining area or a space to socialize while cooking.
Integrated Seating: Consider integrating seating into the island’s design. Bench seating or built-in banquettes can provide comfortable dining options without taking up extra space.
Additional Features
Sink and Faucet: Incorporating a sink and faucet into your white oak kitchen island adds functionality. It allows for easy food preparation and cleanup.
Cooktop: Installing a cooktop on the island makes it a central hub for cooking, allowing you to engage with guests or family while preparing meals.
Electrical Outlets: Ensure the island includes electrical outlets to power small appliances or charge devices, enhancing its practicality.
Maintenance and Care Tips
Regular Cleaning
Gentle Cleaning: Use a soft cloth or sponge with mild soap and water to clean your white oak kitchen island. Avoid abrasive cleaners that can damage the wood’s finish.
Wipe Spills Promptly: Wipe up any spills immediately to prevent stains and water damage. White oak’s natural water resistance helps, but prompt attention is always best.
Protecting the Finish
Use Coasters and Mats: Use coasters for beverages and mats for hot pots and pans to protect the island’s surface from heat and moisture.
Reapply Finish: Depending on the finish used, you may need to reapply a protective coat every few years. Follow the manufacturer’s recommendations for the best results.
Preventing Damage
Avoid Sharp Objects: Use cutting boards when preparing food to prevent knife marks on the island’s surface.
Lift, Don’t Drag: Lift items rather than dragging them across the island to avoid scratches and dents.
 Installing a White Oak Kitchen Island
DIY vs. Professional Installation
DIY Installation: If you have carpentry skills and the necessary tools, installing a white oak kitchen island yourself can be a rewarding project. Ensure you follow detailed plans and safety guidelines.
Professional Installation: Hiring a professional ensures a flawless installation. Professionals have the expertise to handle complex features, such as plumbing and electrical work, ensuring your island is both beautiful and functional.
Key Installation Steps
Measure Your Space: Measure your kitchen space to determine the appropriate size for the island. Consider traffic flow and ensure there’s enough room to move around comfortably.
Select the Right Location: Choose a location that maximizes functionality and complements your kitchen layout. Central placement often works best, but side placement can also be effective depending on your kitchen’s design.
Prepare the Floor: Ensure the floor is level and can support the weight of the island. Reinforce the floor if necessary.
Assembly: Follow the manufacturer’s instructions or your design plans to assemble the island. Secure all components tightly and check for stability.
Install Additional Features: If your island includes a sink, cooktop, or electrical outlets, consider hiring professionals to handle plumbing and electrical installations.
Cost Considerations
Material Costs
White Oak Wood: The cost of white oak wood varies depending on quality and source. Expect to pay between $50 and $100 per square foot for quality white oak.
Countertops and Hardware: Factor in the cost of countertops (such as quartz, granite, or butcher block) and hardware (such as drawer pulls and hinges). These can add significantly to the overall cost.
Labor Costs
Professional Labor: Hiring professionals for installation, especially for complex features, will add to the cost. Labor charges can range from $50 to $100 per hour.
Additional Services: Additional services, such as custom finishes or cabinetry, can increase costs. Obtain detailed quotes from contractors to understand the full scope of expenses.
Budgeting Tips
Set a Budget: Determine a budget for your white oak kitchen island project and stick to it. Consider all potential costs, including materials, labor, and additional features.
Get Multiple Quotes: Obtain quotes from multiple contractors to ensure you’re getting a fair price. Compare their services and references to make an informed decision.
DIY Savings: Consider DIY installation for certain aspects of the project to save on labor costs. Only tackle tasks you’re confident in; leave complex tasks to professionals.
 Enhancing Your Kitchen Island
Lighting
Pendant Lights: Install pendant lights above your white oak kitchen island for both functional and decorative lighting. Choose fixtures that complement your kitchen’s style.
Under-Cabinet Lighting: Under-cabinet lighting can enhance functionality, providing additional illumination for food preparation and cooking.
Accessories
Decorative Elements: Add decorative elements, such as a bowl of fresh fruit or a vase of flowers, to enhance the island’s visual appeal.
Functional Accessories: Consider adding functional accessories like a spice rack, knife holder, or pull-out trash bin to increase the island’s practicality.
Personal Touches
Customized Features: Personalize your white oak kitchen island with customized features, such as carved details, built-in shelves, or unique hardware.
Color Accents: Use color accents, such as painted bar stools or colorful dishware, to complement the natural beauty of white oak and add visual interest.
 Conclusion
A white oak kitchen island is a stunning and practical addition to any kitchen. Its timeless beauty, durability, and versatility make it an excellent choice for homeowners looking to enhance their kitchen’s functionality and aesthetic. By considering design options, functional features, maintenance tips, and installation guidelines, you can create a white oak kitchen island that perfectly suits your needs and style. Whether you opt for a DIY project or hire professionals, the end result will be a beautiful, functional centerpiece that elevates your kitchen space. Happy designing!