
Creating a DIY kitchen island can transform your cooking space. It adds functionality, enhances storage, and provides a gathering spot for families. This article will guide you through the benefits of having a kitchen island, the tools you’ll need, and step-by-step instructions to build your own. Whether you’re a novice or an experienced DIYer, you’ll find this guide helpful.
 Benefits of a Kitchen Island
Increased Counter Space
One of the main advantages of a kitchen island is the extra counter space. Many kitchens lack sufficient surfaces for food preparation and cooking. An island provides room to chop, mix, and bake. It offers a dedicated area for meal prep.
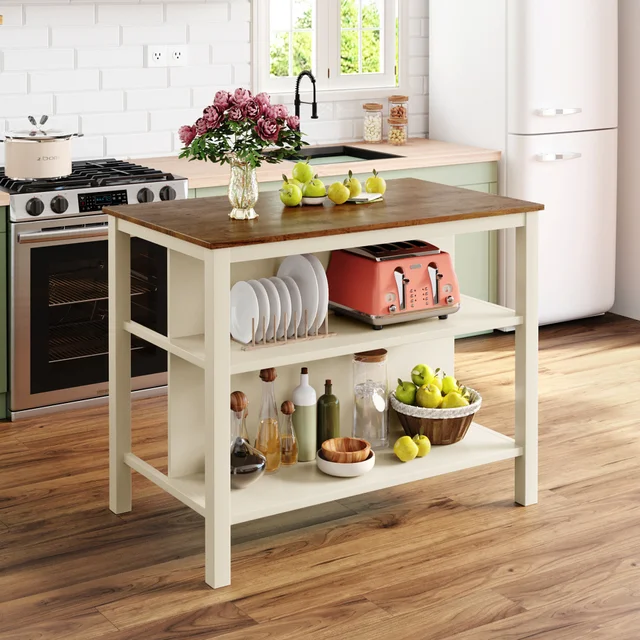
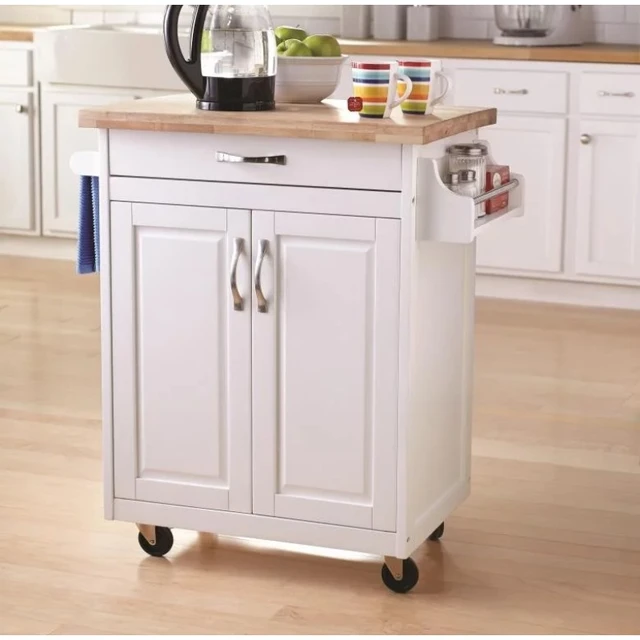
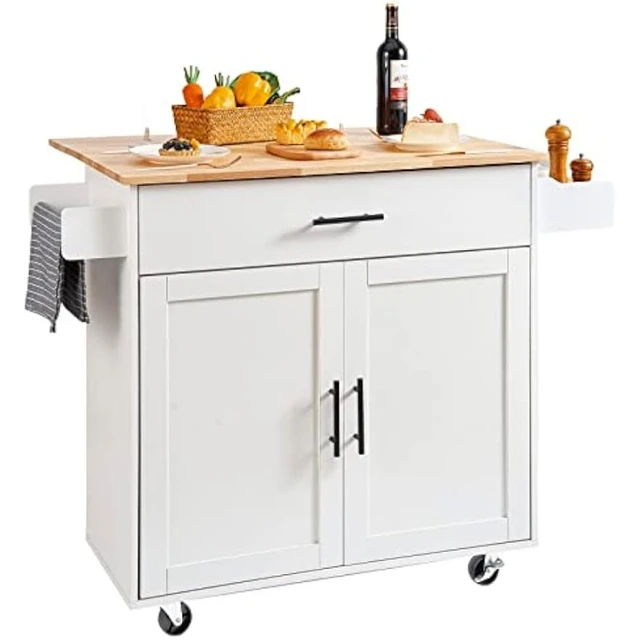
Extra Storage
Tired of cluttered countertops? An island can help! You can add cabinets and drawers for pots, pans, and utensils. Some designs even allow for open shelving, perfect for displaying cookbooks or decorative items.
Gathering Hub
Kitchens are often the heart of the home. A kitchen island creates a casual dining area. It encourages family and friends to gather. It’s a great place for kids to do homework while dinner is being prepared.
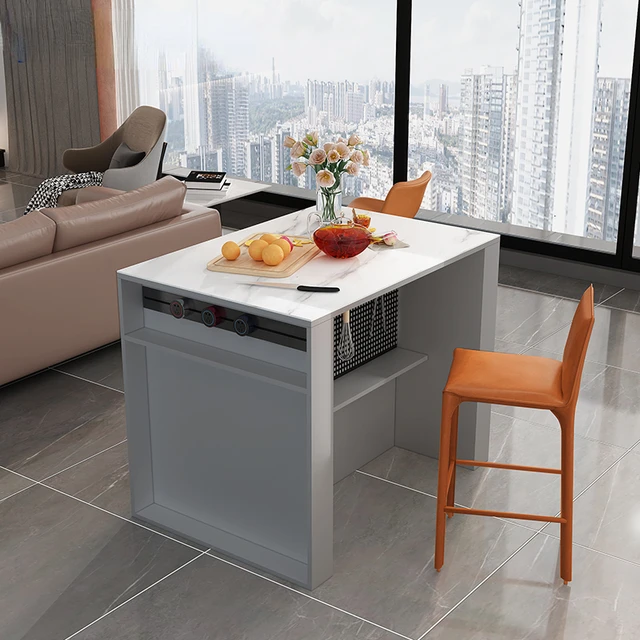
Versatility
DIY kitchen islands are highly customizable. You can create one that fits your style and needs. Whether you prefer a rustic farmhouse look or a sleek modern design, the options are endless.
Tools and Materials Needed
Essential Tools
Before starting your project, gather the necessary tools:
- Screwdriver: For assembling pieces.
- Drill: For making holes and driving screws.
- Saw: A circular saw or miter saw will work.
- Measuring Tape: To ensure accurate measurements.
- Level: To ensure your island is even.
- Sandpaper: For smoothing surfaces.
- Paintbrush or Roller: If you plan to paint or stain.
Materials You’ll Need
Gather the following materials to build your kitchen island:
- Wood: Choose durable wood like pine or oak.
- Plywood: For the main structure.
- Screws: To secure pieces together.
- Stain or Paint: To finish your island.
- Finish: Consider a sealant for added protection.
 Planning Your DIY Kitchen Island
Choosing the Right Location
Select a suitable spot for your kitchen island. Ensure it’s not blocking pathways or existing appliances. Measure the available space. Leave adequate room for movement around the island.
Designing Your Island
Create a design that fits your kitchen’s style and your needs. Consider the following:
- Size: Make sure it fits well in your space.
- Shape: Decide between a rectangular, square, or circular design.
- Functionality: Will it have storage? Seating? A sink?
Sketching Your Plans
Drawing a blueprint can help visualize your project. Include measurements and exact dimensions. This plan will guide you throughout the building process.
 Step-by-Step Instructions to Build Your Kitchen Island
Step 1: Gather Your Materials and Tools
Before you begin, lay all materials and tools out in your workspace. This will make the construction process smoother.
Step 2: Cut the Wood
Measure and cut the wood according to your design. Start with the pieces for the frame. Then cut the plywood for the top. Be precise in your cuts to ensure everything fits together perfectly.
Step 3: Assemble the Frame
Construct the base using the wooden pieces. Start by creating a rectangular frame. Use screws to secure the corners. Ensure that everything is square by measuring diagonally.
Step 4: Add the Legs
Attach the legs to the frame. Make sure they are all the same length for stability. It’s essential that the legs can support the weight of the island.
Step 5: Attach the Plywood Top
Place the cut plywood on top of the frame. Secure it with screws. Make sure it is evenly positioned and centered.
Step 6: Add Storage Features
If your design includes storage, add shelves or cabinets now. You can purchase pre-made units or build them yourself. Secure everything properly with screws.
Step 7: Sand the Surfaces
Use sandpaper to smooth out any rough edges. This will ensure a safe and beautiful finish. Pay extra attention to corners and edges.
Step 8: Paint or Stain
Now it’s time to give your island a finishing touch. Choose a color or stain that matches your kitchen decor. Apply paint or stain evenly. Let it dry completely.
Step 9: Add Finishing Touches
Consider adding hardware, such as knobs or handles. You might also want to install a backsplash or hooks for utensils. These details can enhance the functionality and look of your island.
Step 10: Final Inspection
Once everything is dry, do a thorough inspection. Ensure that everything is secure and level. Make any adjustments necessary.
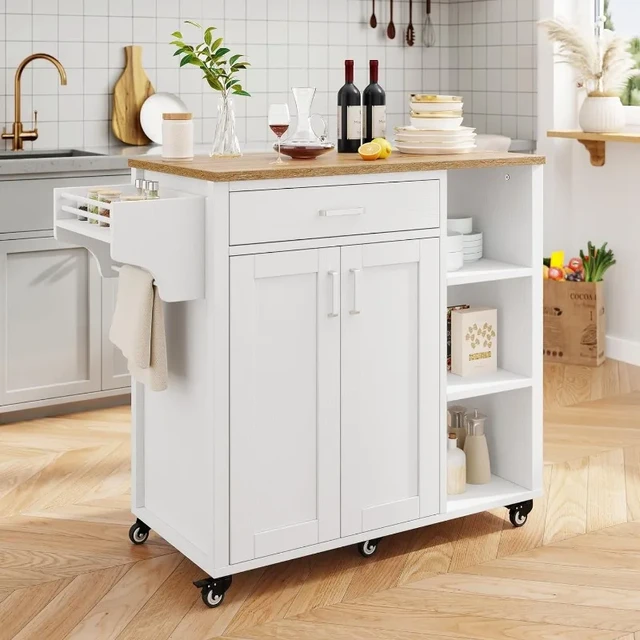 Decorating Your Kitchen Island
Choosing Accessories
Accessorizing your kitchen island can enhance its appearance. Consider items such as:
- Bar Stools: If you plan to have seating, choose comfortable stools that match your decor.
- Centerpiece: A large bowl of fruit or a vase of flowers can add a splash of color.
- Cookbooks: Displaying cookbooks can bring personality to your space.
Using the Space Wisely
Think about how you will use your island. If it’s mainly for meal prep, keep tools handy. If it’s for dining, make sure dining wear is stored nearby.
Maintenance Tips for Your Kitchen Island
Regular Cleaning
Keep your island clean for longevity. Wipe surfaces regularly with lukewarm soapy water. Avoid harsh chemicals that can damage the finish.
Inspect for Damage
Periodically check for any signs of wear and tear. Address scratches or dents promptly to prevent further damage. Touch up paint or stain if necessary.
Keep it Organized
To maximize your island’s functionality, keep it organized. Regularly declutter the surface. Ensure that storage areas are used efficiently.
The trend of kitchen islands:
The trend of kitchen islands has evolved significantly in recent years, becoming a central feature in many modern homes. Here are some key trends related to kitchen islands:
Multi-Functional Spaces: Kitchen islands are increasingly designed to serve multiple purposes, such as cooking, dining, and entertaining. Many now include built-in appliances, sinks, or even small refrigerators.
Open Concept Designs: With the rise of open floor plans, kitchen islands help create a seamless flow between the kitchen and living areas, encouraging social interaction and family gatherings.
Sustainable Materials: Homeowners are leaning towards eco-friendly materials for their kitchen islands, such as reclaimed wood or recycled surfaces, reflecting a growing emphasis on sustainability.
Bold Colors and Unique Finishes: Instead of traditional white or wood finishes, many are opting for bold colors or mixed materials, including contrasting cabinetry, painted islands, or unique countertops that make a statement.
Smart Technology Integration: High-tech features like built-in charging stations, smart lighting, and integrated speakers are becoming popular, enhancing functionality and convenience.
Bar Height Seating: Many islands now feature elevated seating areas, allowing for casual dining and socializing, typically with barstools or high chairs.
Slab Backsplashes: A continuation of the island’s countertop material up the sides and onto the wall as a backsplash is a trendy way to create a cohesive look.
Minimalist and Streamlined Designs: There’s a trend towards sleek, minimal designs with clean lines, avoiding excess ornamentation and focusing on functionality.
These trends reflect the evolving role of the kitchen as a multifunctional space designed for both cooking and socializing. As styles and preferences continue to change, kitchen islands will likely remain a focal point in modern homes.
 Conclusion-diy kitchen island
Building a DIY kitchen island can be a rewarding project. It enhances your kitchen’s functionality and can even increase your home’s value. With careful planning and execution, anyone can create a lovely and useful kitchen island. So gather your tools and materials, and start building the kitchen island of your dreams. Remember, the kitchen is the heart of the home, and a well-designed island makes it even more special. Happy DIYing!