
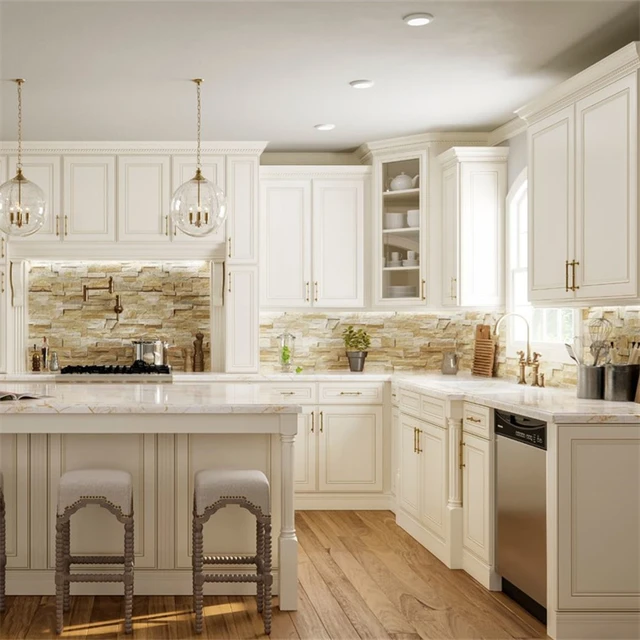
How to install kitchen cabinets
Installing kitchen cabinets can transform your cooking space. The process may seem daunting, but with the right tools and a thorough understanding of the steps involved, you can achieve a professional-looking installation. This guide will walk you through the entire process, ensuring you end up with beautiful cabinets in your kitchen.
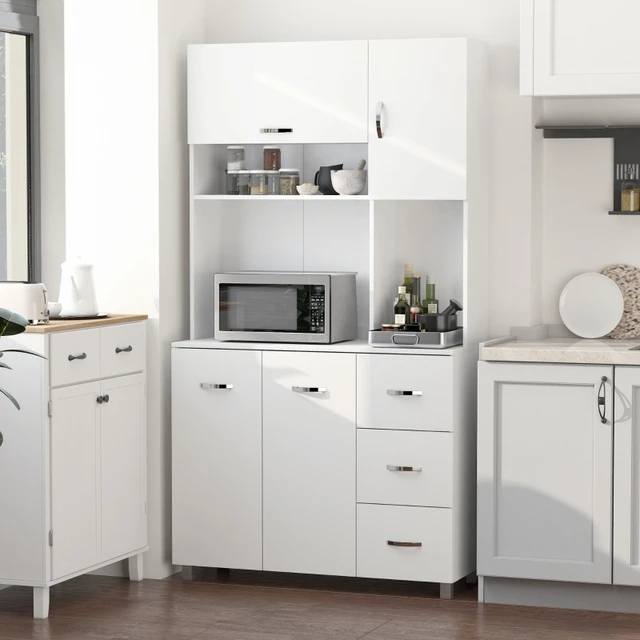 Table of Contents
How to install kitchen cabinets
- Preparation for Installation
- 1.1 Gather Your Tools
- 1.2 Measure Your Space
- 1.3 Choose the Right Cabinets
- Removing Old Cabinets
- 2.1 Disconnect Utilities
- 2.2 Remove Doors and Shelves
- 2.3 Take Down the Old Cabinets
- Preparing the Area for New Cabinets
- 3.1 Repair Walls
- 3.2 Mark Installation Heights
- 3.3 Level Your Floor
- Installing the Upper Cabinets
- 4.1 Find the Wall Studs
- 4.2 Use a Level
- 4.3 Secure the Cabinets
- Installing the Base Cabinets
- 5.1 Connect Base Cabinets
- 5.2 Leveling the Base Cabinets
- 5.3 Installing Drawer Slides
- Finishing Touches
- 6.1 Install Cabinet Doors
- 6.2 Attach Hardware
- 6.3 Adding Trim
- Conclusion
 1. Preparation for Installation
How to install kitchen cabinets
Before diving into the installation process, it’s crucial to prepare adequately. Proper preparation sets the stage for a smoother installation experience.
1.1 Gather Your Tools
To start, make sure you have all the necessary tools. Here’s a list of what you will need:
- A drill
- A level
- Screwdrivers
- A stud finder
- Measuring tape
- A square
- A hammer
- Wood glue
- Clamps
- Safety glasses
Having all your tools ready will save you time during the installation.
1.2 Measure Your Space
Accurate measurements are vital. Begin by measuring the length and height of the walls where you will install the cabinets. Make sure to account for any windows, doors, or appliances. Write down your measurements clearly.
1.3 Choose the Right Cabinets
Choose cabinets that fit your measurements. Consider materials and styles that match your kitchen decor. You can opt for ready-to-assemble cabinets or custom-built options depending on your budget and preferences.
2. Removing Old Cabinets
Before you can install new cabinets, you’ll need to remove the old ones. This step requires careful planning.
2.1 Disconnect Utilities
If your old cabinets have plumbing or electrical components, turn off the necessary utilities before beginning. Always prioritize safety.
2.2 Remove Doors and Shelves
Start by removing cabinet doors and any shelves. This will reduce the weight and make it easier to take down the cabinets. Use a screwdriver to remove the hinges.
2.3 Take Down the Old Cabinets
Using a drill, carefully unscrew the screws that hold your cabinets to the wall. If the cabinets are secured with brackets, remove those as well. Once all screws are out, gently pull the cabinets away from the wall.
 3. Preparing the Area for New Cabinets
With the old cabinets out of the way, it’s time to prepare your space for the new installation.
3.1 Repair Walls
Inspect the walls for any damage. Patch holes and fill any gaps. A smooth surface is essential for successful cabinet installation.
3.2 Mark Installation Heights
Using a level and measuring tape, mark the desired height for the bottom of the upper cabinets and the top of the base cabinets. Make sure the marks are straight, as hanging cabinets crooked will create more problems later.
3.3 Level Your Floor
Check if the floor is level, especially if you live in an older home. Use shims if necessary to ensure that the base cabinets sit evenly.
4. Installing the Upper Cabinets
Installing the upper cabinets is often the most challenging part, as they need to be secured to the wall.
4.1 Find the Wall Studs
Use a stud finder to locate the wall studs. You want to attach the cabinets directly to the studs for maximum support. Mark the stud locations with a pencil.
4.2 Use a Level
Position the cabinet against the wall and use a level to ensure it’s straight. It’s best to have a helper for this part, as cabinets can be heavy.
4.3 Secure the Cabinets
Once the cabinet is level, use screws to secure it to the wall studs. Start at one end and work your way across. Recheck the level as you go along.
5. Installing the Base Cabinets
With the upper cabinets secured, it’s time to install the base cabinets.
5.1 Connect Base Cabinets
If you have multiple base cabinets, connect them together before installation. This usually involves using clamps and screws. Make sure the cabinets are aligned correctly.
5.2 Leveling the Base Cabinets
Similar to upper cabinets, it’s essential to ensure that base cabinets are level. Adjust with shims where needed. This will ensure doors and drawers operate smoothly.
5.3 Installing Drawer Slides
If your cabinets have drawers, install the slides according to manufacturer’s instructions. Make sure they are level and aligned.
6. Finishing Touches
With the cabinets installed, you can now add the finishing touches.
6.1 Install Cabinet Doors
Reattach the cabinet doors using the hinges. Make any necessary adjustments to ensure they open and close smoothly.
6.2 Attach Hardware
Once the doors are on, attach the cabinet hardware (handles and knobs). This will add a polished look to your cabinets.
6.3 Adding Trim
If desired, add trim around the cabinets to cover any gaps. This enhances the look of the cabinets and makes them appear more professionally installed.
 Trends in kitchen cabinets
Trends in kitchen cabinets are constantly evolving, reflecting shifts in design preferences and functionality. Here are some popular trends in kitchen cabinets:
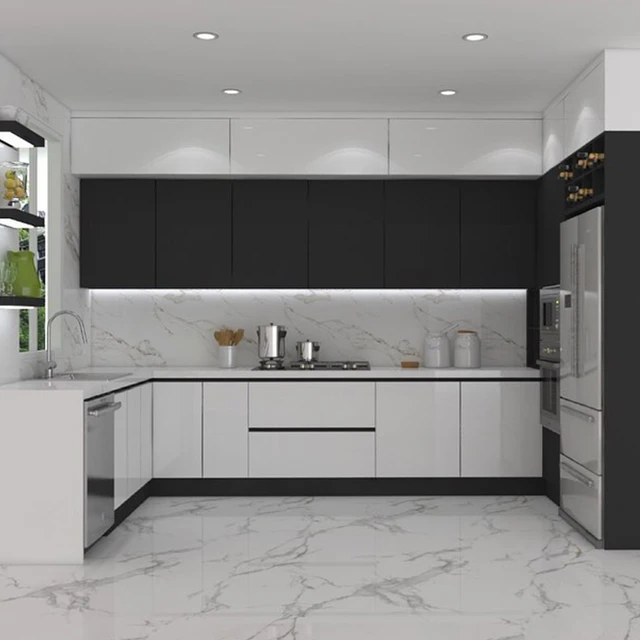
- Two-Tone Cabinets: Combining different colors or finishes for upper and lower cabinets is gaining popularity. This design adds depth and character to the kitchen.
- Bold Colors: While white and wood tones remain classic, bold colors like navy blue, deep green, and even black are being embraced for a more dramatic look.
- Matte Finishes: Matte cabinet finishes are trendy for a contemporary feel, offering a sleek and modern aesthetic that contrasts with glossy surfaces.
- Open Shelving: Replacing upper cabinets with open shelves creates a more spacious feel and allows for creative display of dishes and kitchenware.
-
Minimalist Design: Simple, clean lines and a lack of ornate detailing are favored for a more streamlined and sophisticated look. Shaker-style cabinets remain a popular choice.
- Smart Storage Solutions: Innovations in cabinetry, such as pull-out drawers, lazy Susans, and integrated organizational systems, are designed to maximize functionality and declutter the kitchen.
- Natural Materials: Wood cabinets with natural finishes are gaining popularity, often paired with modern elements to create a warm and inviting atmosphere.
- Glass-Front Cabinets: Display cabinets with glass doors are a stylish way to showcase beautiful dishware while keeping the space visually open.
- Mixed Materials: Incorporating materials like metal, wood, and even stone for cabinet accents is becoming a trend, resulting in a mixed-media aesthetic.
- Sustainable Options: Eco-friendly materials and finishes are increasingly popular as homeowners become more environmentally conscious.
These trends reflect a desire for both beauty and practicality, making kitchens more personalized and functional.
 Some important considerations to keep in mind:
how to install kitchen cabinets
When installing kitchen cabinets, here are some important considerations to keep in mind:
- Planning and Layout:
- Measure your kitchen space accurately to ensure the cabinets fit.
- Create a detailed layout, considering the work triangle (sink, stove, refrigerator) for functionality.
- Choosing the Right Cabinets:
- Select cabinets that are durable and match your kitchen style.
- Consider materials, finishes, and hardware options.
- Leveling:
- Ensure that the floor is level before installation, as uneven surfaces can lead to problems.
- Use a level tool to check each cabinet during installation.
- Wall Studs:
- Locate and mark the wall studs for secure mounting.
- Use screws to attach cabinets to the wall studs for stability.
- Hanging Upper Cabinets:
- Start with upper cabinets to avoid obstructing your workspace.
- Use a temporary brace to hold the cabinets in place while securing them.
- Alignment:
- Ensure that all cabinets are aligned properly with consistent spacing.
- Adjust as needed before securing completely.
- Installation of Lower Cabinets:
- Install lower cabinets after the upper ones.
- Check for level and alignment again, making adjustments as necessary.
- Sealing and Finishing:
- Apply caulking to gaps between cabinets and walls to prevent moisture damage.
- Install trim pieces to finish edges and give a polished look.
- Doors and Drawers:
- Attach doors and drawers carefully, ensuring they open and close smoothly.
- Adjust hinges and slides as needed for proper alignment.
- Safety Precautions:
- Use proper tools and safety gear.
- Follow manufacturer’s instructions for installation to avoid damage and ensure safety.
By following these guidelines, you can achieve a successful and efficient cabinet installation in your kitchen.
7. Conclusion-how to install kitchen cabinets
how to install kitchen cabinets
Installing kitchen cabinets may take time and effort, but the results are rewarding. A well-installed cabinet not only enhances the dining experience but also adds to the overall value of your home. By following these steps carefully, you can achieve a stunning kitchen look. Remember to take your time and don’t hesitate to ask for help if needed. Happy remodeling!