How to install kitchen cabinets
The heart of any home, the kitchen is where memories are made, meals are enjoyed, and family gathers. A beautiful and functional kitchen is an investment worth making, and a key element in achieving that goal is installing stunning kitchen cabinets. While it may seem daunting at first, installing kitchen cabinets is a DIY project that can be tackled with careful planning and a little elbow grease. This comprehensive guide will walk you through the entire process, from selecting the right cabinets to finishing touches that will leave you with a kitchen you’ll love for years to come.
 1. Planning and Preparation: The Foundation of a Successful Installation
How to install kitchen cabinets
Before you even start shopping for cabinets, a solid plan is essential. This includes understanding your kitchen’s layout, taking accurate measurements, and selecting the right type of cabinets for your needs and style.
1.1. Defining Your Kitchen’s Style and Function
Before diving into the world of cabinets, it’s important to define the overall look and feel you want for your kitchen. Consider the following:
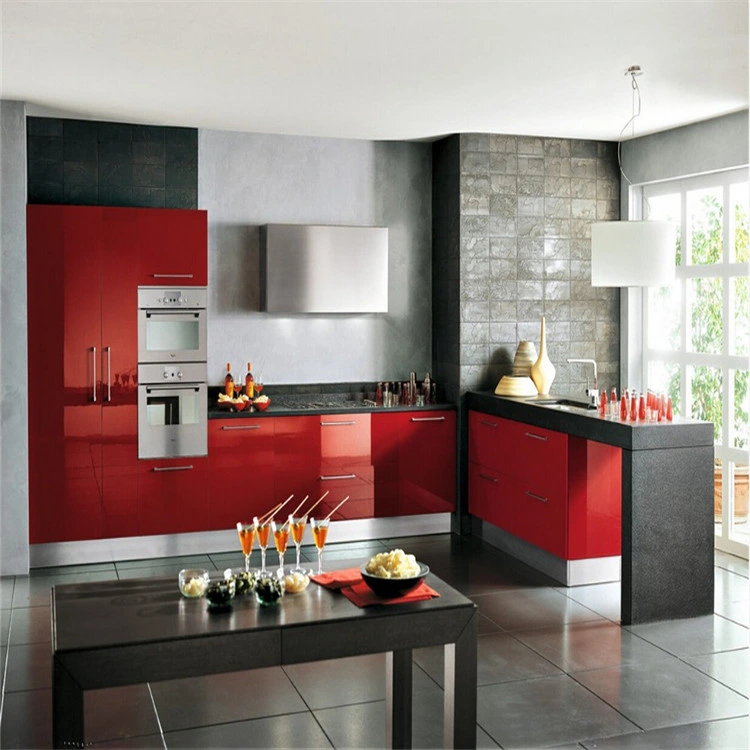
- Style: Do you prefer a sleek and modern aesthetic, a classic and traditional feel, or a farmhouse-inspired design?
- Functionality: Are you a passionate chef seeking ample storage space? Or do you prioritize a minimalist design with open shelving?
- Budget: Establish a budget range to help narrow down your options and prevent sticker shock later.
1.2. Measuring Your Kitchen for Precision
Accurate measurements are the key to a successful cabinet installation. Here’s how to measure your kitchen efficiently:
- Wall Heights: Measure the height of your walls, taking note of any variations or obstructions like electrical outlets or pipes.
- Countertop Depth: Measure the depth of your countertop or where you plan to install it.
- Cabinet Dimensions: Determine the desired width and height of each cabinet you plan to install.
- Existing Features: Measure the dimensions of any existing appliances, sinks, or windows that will affect cabinet placement.
1.3. Choosing the Right Cabinets: Styles, Materials, and Finishes
How to install kitchen cabinets
The world of kitchen cabinets offers a wide range of styles, materials, and finishes. Here’s a breakdown to help you choose the best fit for your kitchen:
- Styles:
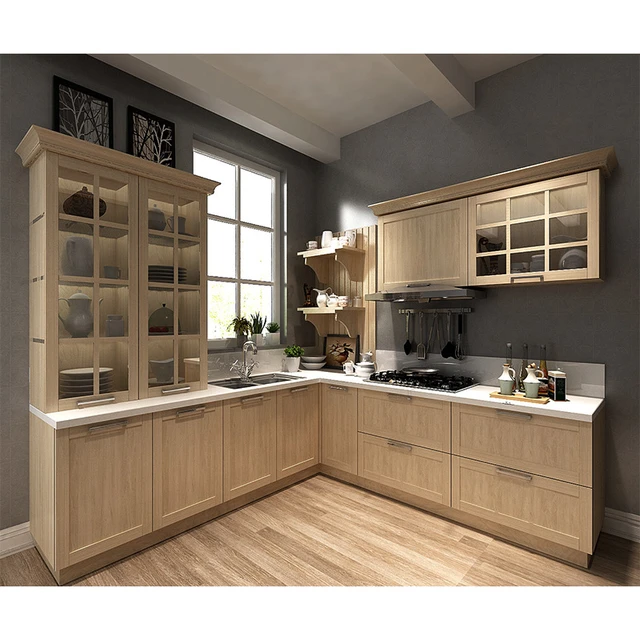
- Base Cabinets: These form the foundation of your kitchen, providing storage below your countertop. They are available in various sizes and configurations, including single, double, and triple doors.
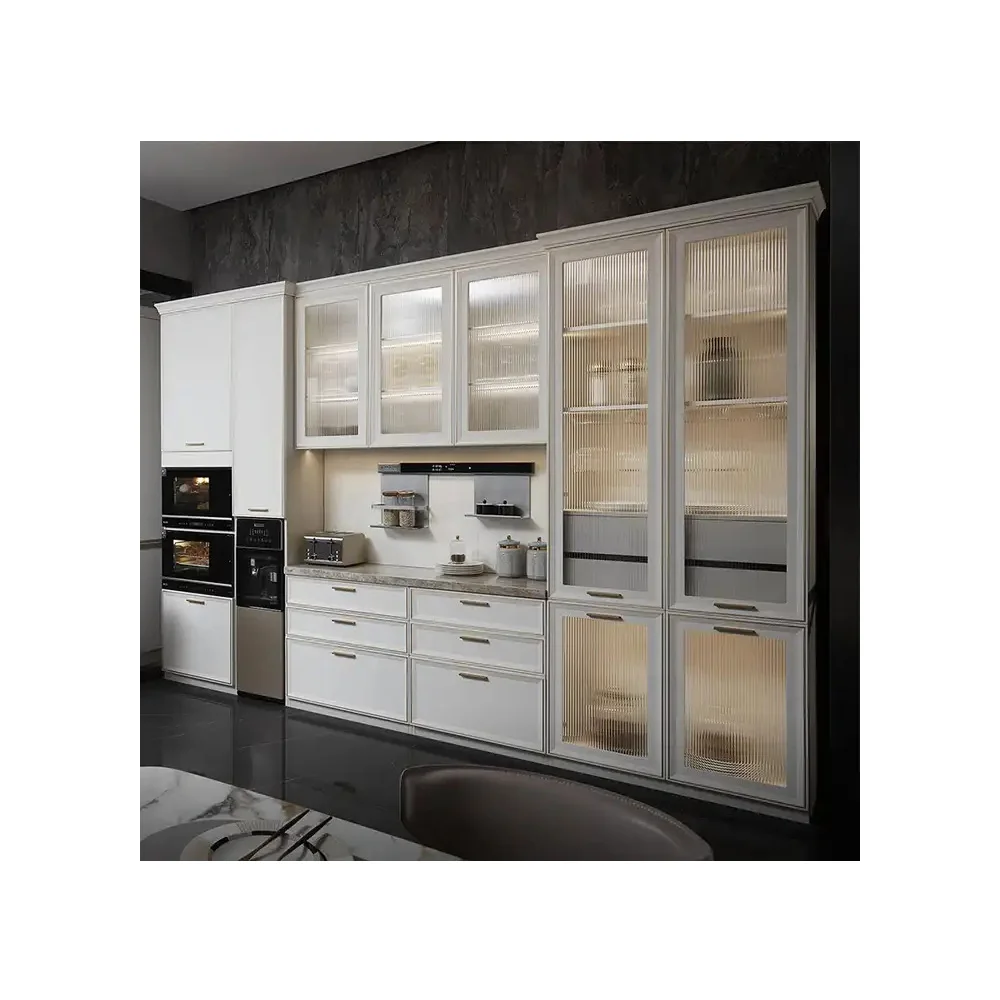
- Wall Cabinets: These offer storage above your countertop, maximizing vertical space. They come in various sizes, shapes, and configurations, including single, double, and glass-fronted cabinets.
- Tall Cabinets: These cabinets offer significant storage capacity, perfect for pantries, ovens, or refrigerators.
- Materials:
- Wood: Offers durability, natural beauty, and versatility in style. Popular choices include oak, cherry, maple, and birch.
- Laminate: An affordable and durable option, offering a wide range of colors and finishes.
- MDF (Medium-Density Fiberboard): Provides a smooth surface for painting and comes in various thicknesses.
- Finishes:
- Paint: Offers limitless color options and can be easily refreshed over time.
- Staining: Enhances the natural beauty of wood, offering a variety of shades and tones.
- Glazing: Adds depth and texture to painted or stained cabinets, creating a unique look.
 2. Assembling Your Cabinets: A Step-by-Step Guide
How to install kitchen cabinets
Once you’ve selected and received your cabinets, it’s time to assemble them. While some cabinets come pre-assembled, many require assembly.
2.1. Tools and Materials:
Before you begin, gather the necessary tools and materials:
- Screwdriver: A Phillips-head screwdriver is essential for assembling cabinets.
- Drill: A cordless drill with various drill bits is helpful for driving screws and making pilot holes.
- Level: Ensures cabinets are installed straight and level.
- Tape Measure: Used for measuring and confirming cabinet dimensions.
- Pencil: For marking the location of screws and other markings.
- Safety Glasses: Protect your eyes from flying debris.
- Work Gloves: Provide protection for your hands.
2.2. Assembling the Cabinet Boxes:
- Lay Out Parts: Carefully unpack your cabinets and lay out all the components, including the box, shelves, doors, and drawers.
- Attach Shelves: Attach the shelves to the cabinet box using screws or shelf pins, ensuring they are level and secure.
- Attach Doors and Drawers: Follow the manufacturer’s instructions to attach the cabinet doors and drawers. This may involve using hinges, slides, and other hardware.
2.3. Cabinet Modifications:
- Cutting Cabinets: If your cabinets require modifications to fit your kitchen’s dimensions, use a saw (circular, jigsaw, or table saw) to cut the cabinet boxes to size. Ensure you wear safety glasses and follow the manufacturer’s instructions for cutting.
- Adding Shelves: If you need additional shelves in your cabinets, use a drill and screws to attach the shelves to the existing cabinet structure.
- Adjusting Cabinet Doors: If your doors are not flush with the cabinet frame, use the hinges to adjust them for a seamless look.
 3. Installing Cabinets: A Symphony of Precision
How to install kitchen cabinets
With your cabinets assembled, the next step is installing them in your kitchen. This involves proper measurements, wall preparation, and securing the cabinets in place.
3.1. Preparing the Walls:
- Check Walls for Evenness: Use a level to determine if your walls are plumb and straight.
- Remove Obstructions: Remove any existing fixtures, trim, or obstacles that may interfere with the cabinet installation.
- Inspect Electrical Wiring: Locate and mark the location of electrical outlets, wiring, and plumbing to avoid drilling into them.
3.2. Marking the Walls for Cabinet Placement:
- Mark Cabinet Locations: Use a pencil to mark the location of each cabinet on the wall, ensuring they are level and aligned.
- Measure Cabinet Heights: Measure the height of each cabinet from the floor to the top, factoring in countertop thickness.
- Determine Cabinet Depth: Ensure you have enough depth on the wall for the cabinet to sit flush with the countertop.
3.3. Installing Base Cabinets:
- Attaching to the Walls: Use screws, nails, or brackets to attach the base cabinets to the walls, ensuring they are level and secure.
- Spacing Cabinets: Leave appropriate spacing between cabinets for countertops, appliances, and plumbing.
- Adding Toe Kicks: Attach toe kicks to the bottom of the base cabinets to cover the space between the cabinet bottom and the floor.
3.4. Installing Wall Cabinets:
- Attaching to Walls: Use wall-mounted brackets, cleats, or screws to attach wall cabinets to the walls.
- Ensure Level Installation: Double-check that the wall cabinets are level and aligned with each other.
- Adding Molding: Install molding around the top and sides of the wall cabinets to create a finished look.
 4. Finishing Touches: Bringing Your Kitchen to Life
With the cabinets installed, it’s time to add the finishing touches that will transform your kitchen from a work in progress to a beautiful and functional space.
4.1. Installing Countertops:
- Countertop Materials: Choose from a variety of materials like granite, quartz, laminate, or butcher block.
- Installing Countertops: Follow the manufacturer’s instructions for installing countertops, ensuring proper sealing and support.
- Adding a Backsplash: Install a backsplash to protect the walls and add a decorative element to the kitchen.
4.2. Installing Cabinet Hardware:
- Cabinet Knobs and Pulls: Choose cabinet hardware that complements the style of your cabinets and the overall design of your kitchen.
- Installing Hardware: Use a screwdriver or drill to install knobs and pulls on cabinet doors and drawers.
4.3. Cleaning and Finishing:
- Cleaning Cabinets: Wipe down the cabinets with a damp cloth to remove any dust or debris from installation.
- Applying Sealants: Apply sealant to countertops and backsplashes to protect them from stains and water damage.
5. Troubleshooting Common Installation Issues-How to install kitchen cabinets
- Uneven Walls: Use shims to level cabinets on uneven walls.
- Cabinet Gaps: Adjust the cabinet spacing and use shims to close gaps.
- Door Alignment: Use the hinge adjustments to align cabinet doors properly.
- Hardware Installation: Refer to the hardware manufacturer’s instructions for proper installation techniques.
6. Safety First: Tips for a Safe Installation-How to install kitchen cabinets
- Wear Safety Glasses: Protect your eyes from flying debris.
- Use a Level: Ensure all cabinets are installed level for a professional look.
- Avoid Over-Tightening: Tighten screws securely, but avoid over-tightening to prevent damage.
- Inspect for Stability: Ensure all cabinets are securely fastened to the walls before adding countertops and appliances.
7. Beyond the Basics: Taking Your Kitchen to the Next Level-How to install kitchen cabinets
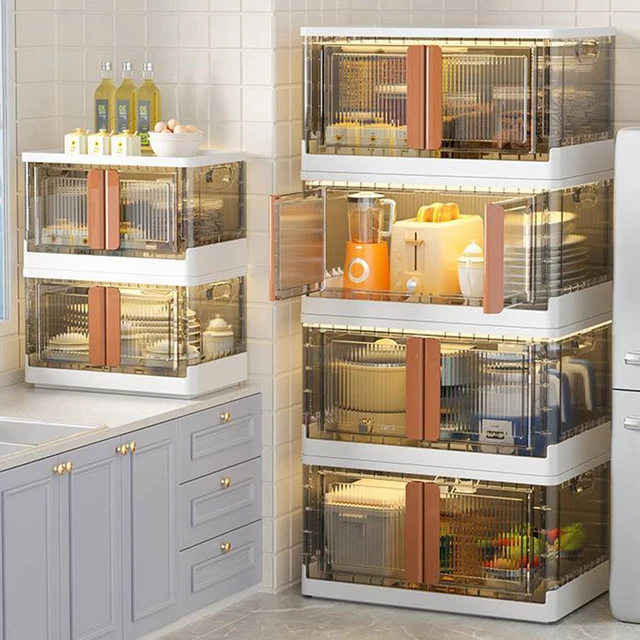
- Smart Storage Solutions: Utilize drawer organizers, lazy Susans, and pull-out shelves to maximize storage space.
- Lighting Considerations: Install under-cabinet lighting, pendant lights, or recessed lighting to enhance the kitchen’s ambiance and functionality.
- Personalize Your Kitchen: Add decorative touches like cabinet knobs and pulls, accent lighting, or a colorful backsplash to reflect your personal style.
 Conclusion: Creating a Kitchen You’ll Love-How to install kitchen cabinets
How to install kitchen cabinets
Installing kitchen cabinets can be a rewarding project, allowing you to transform your kitchen into a space you’ll cherish for years to come. By carefully planning, choosing the right cabinets, and following our step-by-step guide, you can achieve a professional and stunning installation. Remember, take your time, prioritize safety, and celebrate the satisfaction of creating a beautiful and functional kitchen that reflects your style and needs.