 Introduction:
Removing a kitchen sink is a necessary task for various reasons, including renovations, repairs, or upgrading to a new sink. Understanding the process of removing a kitchen sink is important to ensure a smooth and successful operation. In this comprehensive guide, we will explore the step-by-step instructions, tools needed, and important considerations for removing a kitchen sink. By understanding these aspects, you can confidently remove a kitchen sink and complete your desired kitchen improvement.
 Preparing for Sink Removal
Gather the Necessary Tools:
Adjustable wrench
Screwdriver
Bucket or container
Plumber’s putty or silicone
Pipe wrench (if needed)
Safety goggles and gloves
Shut Off the Water Supply:
Locate the shutoff valves under the sink and turn them clockwise to shut off the water supply.
Test the faucet to ensure the water is turned off completely.
Removing the Sink from the Countertop
Disconnect the Water Supply Lines:
Use an adjustable wrench to loosen and disconnect the water supply lines from the faucet connections.
Place a bucket or container beneath the connections to catch any residual water.
Remove the Drain Trap:
Use a pipe wrench or adjustable wrench to loosen and disconnect the drain trap from the sink’s tailpiece.
Be prepared for water to drain out when removing the trap.
Disconnect the Sink Clips or Fasteners:
Underneath the sink, locate and remove any clips or fasteners securing the sink to the countertop.
Use a screwdriver or appropriate tool to loosen and release the sink from these fasteners.
Cut the Caulk Seal:
Use a utility knife or putty knife to carefully cut through the caulk seal between the sink and the countertop.
Gently pry the sink away from the countertop, releasing any remaining seal.
Detaching the
Sink from the Plumbing Connections
Unscrew the P-Trap:
Locate the P-trap, the curved pipe beneath the sink, and loosen the slip nut connecting it to the sink’s drain tailpiece.
Allow any water in the trap to drain into the bucket or container.
Disconnect the Tailpiece:
Unscrew the slip nut connecting the sink’s tailpiece to the drain pipe coming out of the wall or floor.
Keep a bucket or container beneath the connection to catch any residual water.
Remove the Sink:
With all connections detached, carefully lift the sink upward and away from the countertop.
Have assistance if needed, as kitchen sinks can be heavy and awkward to handle.
 After Sink Removal
Clean and Prepare the Countertop:
Remove any remaining caulk or adhesive from the countertop surface.
Clean and prepare the area for installing a new sink or making any necessary repairs.
Inspect the Plumbing Connections:
Check the condition of the plumbing connections and make any repairs if needed.
Replace any damaged or worn parts before installing a new sink.
Some trends in the combination of kitchen sinks and faucets:
The pairing of kitchen sinks and faucets has seen several popular trends in recent years. Here are some common trends and design preferences in the combination of kitchen sinks and faucets:
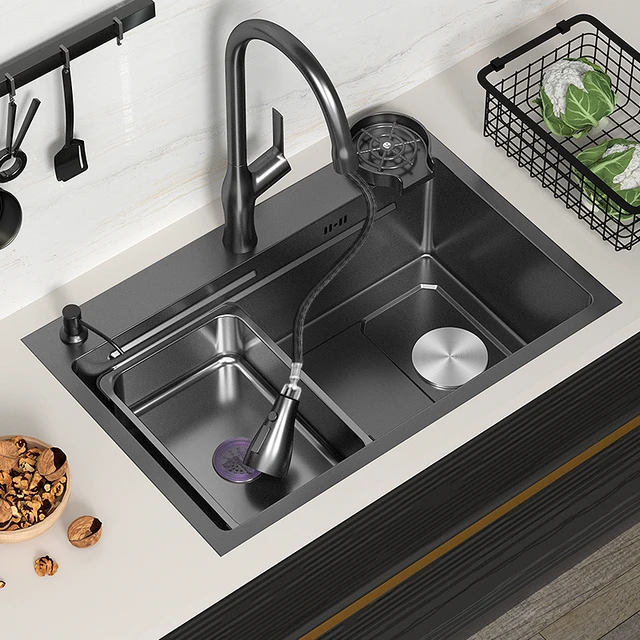
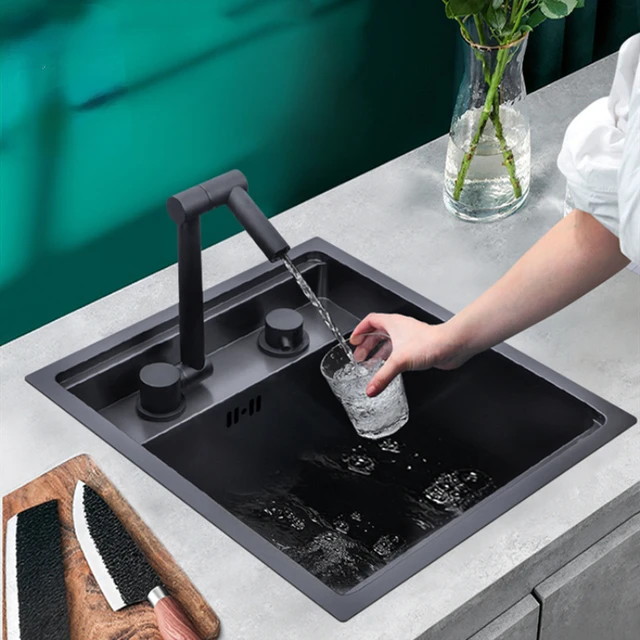
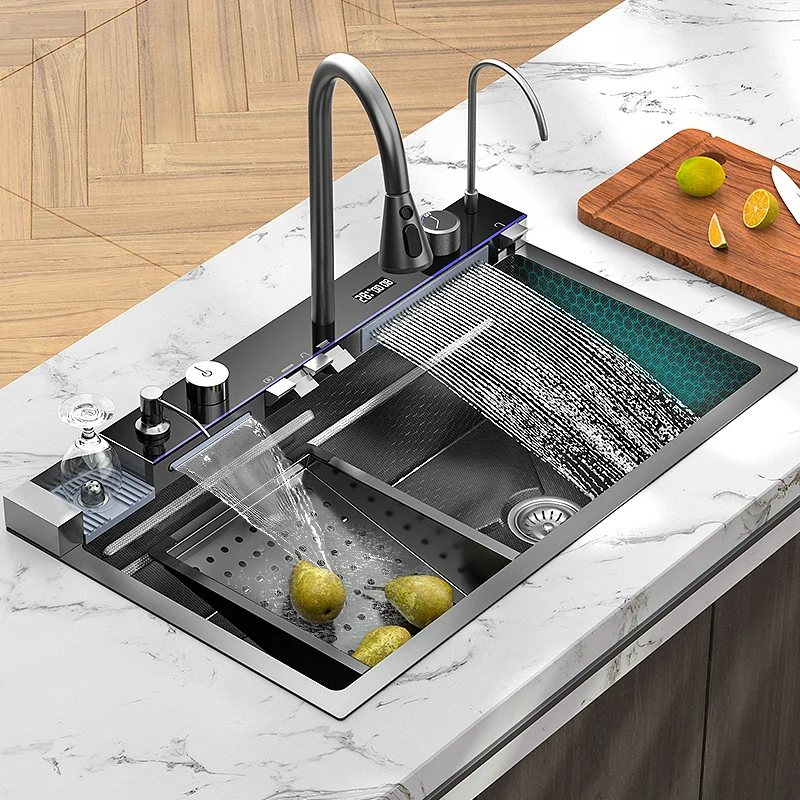
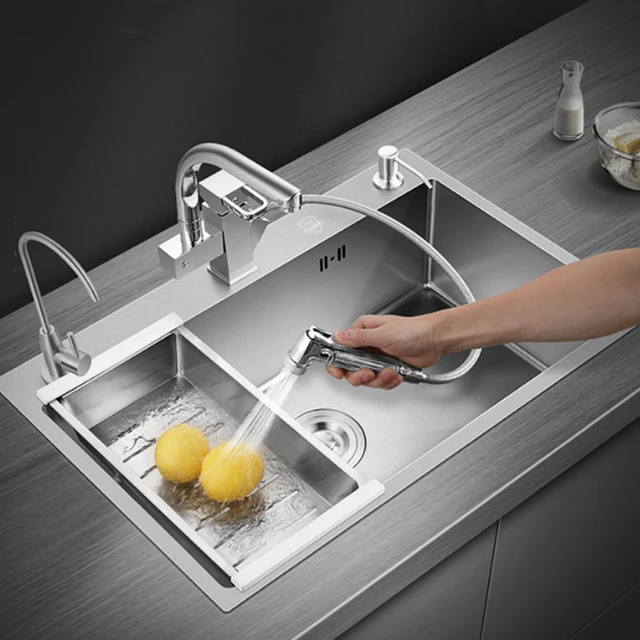
Stainless Steel Sinks with Modern Faucets:
Stainless steel sinks remain a popular choice for many kitchens due to their durability, easy maintenance, and sleek appearance. They are often paired with modern-style faucets that offer clean lines, minimalistic designs, and sophisticated finishes such as brushed nickel or matte black.
Farmhouse-style Sinks with Traditional Faucets:
Farmhouse or apron-front sinks have made a comeback in kitchen design. These sinks are characterized by their exposed front panel and deep basins, offering a rustic and timeless look. They are often paired with traditional-style faucets, such as bridge faucets or single-handle faucets with vintage-inspired details.
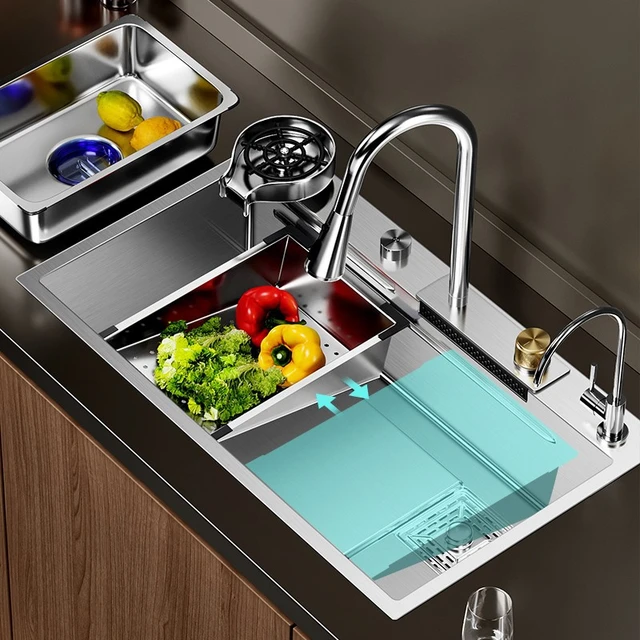
Undermount Sinks with Pull-Down Faucets:
Undermount sinks, which are installed beneath the countertop, provide a seamless and clean appearance in the kitchen. They are commonly paired with pull-down or pull-out faucets that offer flexibility and convenience for washing dishes and filling pots. These faucets often have high-arc spouts and modern finishes to complement the contemporary look of undermount sinks.
Composite or Granite Sinks with Matching Faucets:
Composite or granite sinks, made from a blend of resin and natural stone materials, have gained popularity for their durability, heat resistance, and attractive finishes. These sinks are often paired with matching faucets that have similar color tones or material finishes, creating a cohesive and harmonized look in the kitchen.
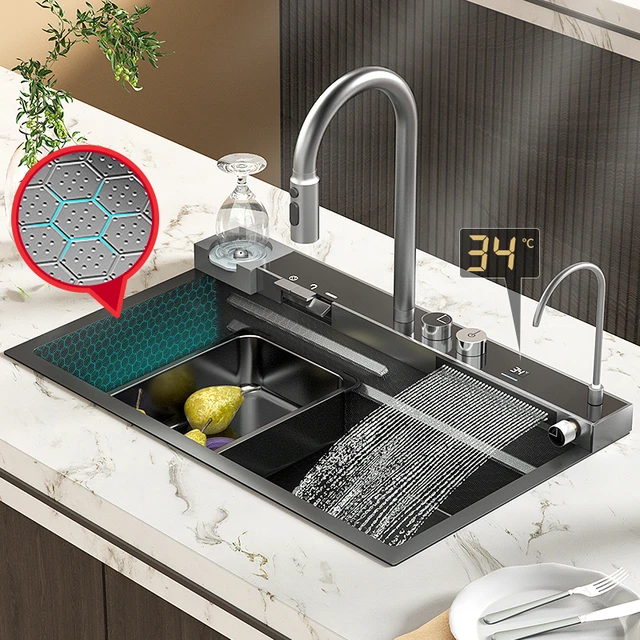
Touchless and Smart Faucets:
Touchless or motion-activated faucets have become increasingly popular in kitchens due to their convenience and water-saving capabilities. These faucets sense the presence of hands or objects and turn on the water flow automatically, reducing the need for touching handles with dirty or greasy hands. Smart faucets with features like voice control or temperature presets are also gaining popularity, adding convenience and functionality to the kitchen sink area.
It’s important to consider factors like functionality, style preferences, and kitchen design when selecting the combination of a kitchen sink and faucet. The choice ultimately depends on individual preferences, the overall kitchen design aesthetic, and the desired level of convenience and functionality.
 Cleaning and maintenance of a kitchen sink:
Proper cleaning and maintenance of a kitchen sink are essential to keep it clean, hygienic, and free from stains or odors. Here are some important tips to consider:
Regular Cleaning:
Clean the sink on a regular basis to prevent the buildup of food particles, soap scum, and mineral deposits. Use a non-abrasive cleaner or mild dish soap with warm water to wipe down the sink. Rinse thoroughly and wipe dry to prevent water spots or mineral buildup.
Avoid Harsh Cleaners and Abrasive Tools:
Avoid using harsh chemicals, bleach, or abrasive cleaners on the sink surface, as they can damage the finish. Instead, opt for mild cleaners and soft cleaning tools like a non-abrasive sponge or cloth.
Remove Stains:
For tough stains like coffee or tea, create a paste with baking soda and water. Apply the paste to the stained areas and gently scrub with a non-abrasive sponge. Rinse thoroughly and wipe dry.
Prevent Scratches and Scuffs:
Avoid using metal scrubbers, wire brushes, or harsh scouring pads, as they can scratch or damage the sink surface. Instead, use a soft sponge or cloth for cleaning.
Address Hard Water Deposits:
If your sink suffers from hard water deposits, remove them with a mixture of equal parts water and white vinegar. Wipe the solution onto the affected areas, let it sit for a few minutes, then rinse thoroughly and dry the sink.
Maintain Drain Hygiene:
Keep the sink drain clean and odor-free by regularly flushing it with hot water and using a drain cleaner as needed. Place a sink strainer or disposable filter to catch food particles and prevent clogs.
Avoid Prolonged Exposure to Hot Items:
To prevent thermal shock or damage to the sink surface, avoid placing hot pans, pots, or boiling water directly on the sink. Use trivets or heat-resistant pads to protect the sink from extreme heat.
 Conclusion:
Removing a kitchen sink is an essential task when undertaking kitchen renovations, repairs, or upgrades. By following the step-by-step instructions, gathering the necessary tools, and considering the important considerations outlined in this comprehensive guide, you can confidently remove a kitchen sink and proceed with your project. Whether for replacing the sink or making other kitchen improvements, understanding the process ensures a successful and efficient operation. Let this guide serve as a valuable resource, empowering you to remove a kitchen sink with confidence and move forward with your desired kitchen improvements.