 Introduction:
Removing a kitchen sink is a necessary task for various reasons, such as replacing a worn-out sink or making repairs to the underlying plumbing. While it may seem daunting, removing a kitchen sink can be accomplished with some basic tools and a systematic approach. In this comprehensive guide, we will provide a step-by-step walkthrough of the process of removing a kitchen sink. By following these easy instructions, you can confidently remove your kitchen sink and proceed with your desired kitchen improvement project.
 Introduction to Removing a Kitchen Sink
Removing a kitchen sink allows for repairs, replacements, or upgrades to the sink or the underlying plumbing components.
A. Aspects to Consider: Before starting the removal process, consider the type of sink, the materials used in the installation, and the potential need for professional assistance based on the complexity of your specific situation.
B. Basic Tools Required: Gather essential tools, including an adjustable wrench, pliers, bucket, utility knife, and screwdriver, to aid in the removal process.
 Preparing for Sink Removal
Proper preparation ensures a smooth removal process and reduces the risk of damage.
A. Disconnecting Water Supply: Turn off the water supply by shutting off the valves located under the sink. Place a bucket underneath the valves to catch any water remaining in the pipes.
B. Clearing the Area: Remove any items stored in and around the sink to provide ample workspace. Clean the area to minimize debris and promote a clean removal process.
Disconnecting the Sink Drain
Disconnecting the drain is an essential step before removing the sink.
A. Removing the P-Trap: Place a bucket beneath the P-trap to catch any water or debris. Loosen the slip nuts connecting the P-trap to the sink’s drain and remove it carefully.
B. Disconnecting Additional Drain Components: If necessary, disconnect any other sink drain components, such as extensions and tailpieces, using pliers or an adjustable wrench.
 Detaching the Sink from the Countertop
Removal of the sink from the countertop requires detachment of the sink clips and caulk.
A. Loosening Sink Clips: Locate the sink clips or brackets underneath the sink. Loosen the screws or bolts securing the sink to the countertop using a screwdriver or an appropriate wrench.
B. Breaking the Caulk Seal: Carefully insert a utility knife or a putty knife between the sink and the countertop to cut through any caulk or adhesive seal. Gently pry the sink away from the countertop to loosen it.
Releasing the Sink from the Mounting Hardware
Removing the sink from its mounting hardware will completely free it.
A. Checking for Additional Hardware: Inspect the sink to ensure there are no additional mounting clips, brackets, or screws holding it in place. Remove any hardware using appropriate tools.
B. Lifting and Removing the Sink: With the sink fully detached, carefully lift it from the countertop and place it in a safe area. Dispose of the sink or set it aside for cleaning, repair, or replacement.
Removing the Old Silicone Caulk
Cleaning off the old silicone caulk prepares the countertop for a new sink installation.
A. Softening the Caulk: Apply a caulk softener or a mild solvent to the old caulk and let it sit for the recommended time to soften the caulk.
B. Scraping the Caulk: Gently scrape off the softened caulk using a plastic putty knife or a caulk removal tool. Ensure thorough removal to allow for proper installation of the new sink.
Some common materials used for kitchen sinks:
Kitchen sinks come in various materials, each offering different durability, aesthetics, and maintenance requirements. Here are some common materials used for kitchen sinks:
Stainless Steel:
Stainless steel is the most popular choice for kitchen sinks. It is durable, corrosion-resistant, and easy to clean. Stainless steel sinks come in different gauges, with lower gauge numbers indicating thicker and more durable steel.
Cast Iron:
Cast iron sinks are coated with an enamel layer, offering a smooth and glossy finish. They are known for their durability and resistance to scratches and stains. However, they require careful handling to avoid chipping the enamel coating.
Composite Granite:
Composite granite sinks are made from a blend of granite or quartz particles and resin. They are attractive, heat-resistant, and durable. Composite granite sinks come in a variety of colors and textures, offering a natural stone-like appearance.
Fireclay:
Fireclay sinks are made by molding ceramic clay into the desired shape and then firing it at a high temperature. They have a smooth and glossy finish, are resistant to stains and scratches, and provide a classic and timeless appeal.
Copper:
Copper sinks offer a unique and elegant look. They have natural antimicrobial properties, are resistant to rust, and develop a distinct patina over time. Copper sinks require regular maintenance to preserve their appearance and prevent oxidation.
Acrylic:
Acrylic sinks are lightweight, affordable, and available in various colors. They are easy to maintain and resistant to stains and scratches. However, they may be less durable and prone to damage from hot pans or heavy impact.
The choice of kitchen sink material depends on personal preference, budget, style, and maintenance considerations. It’s important to select a material that suits your needs and complements the overall design of your kitchen.
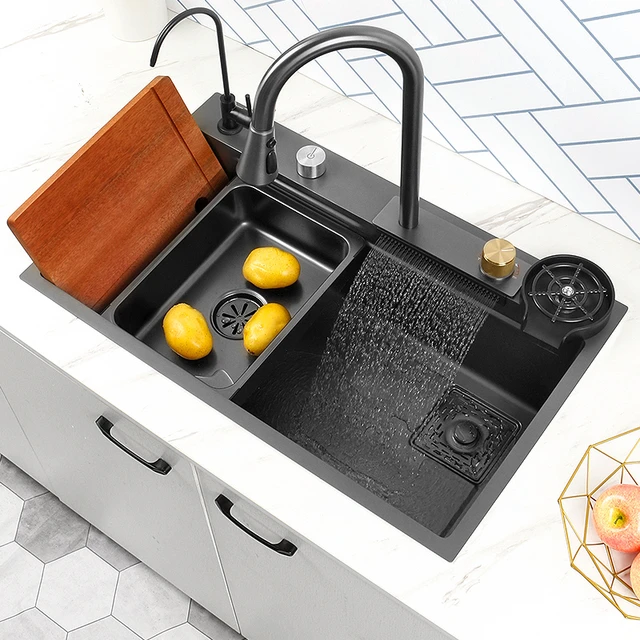
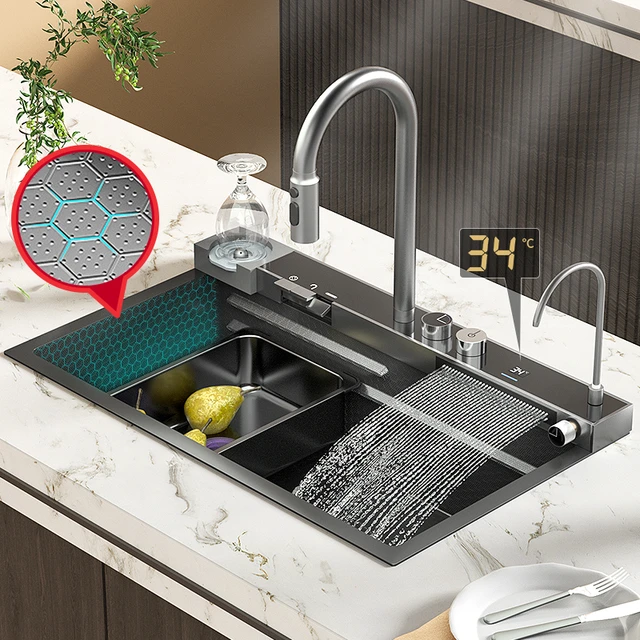
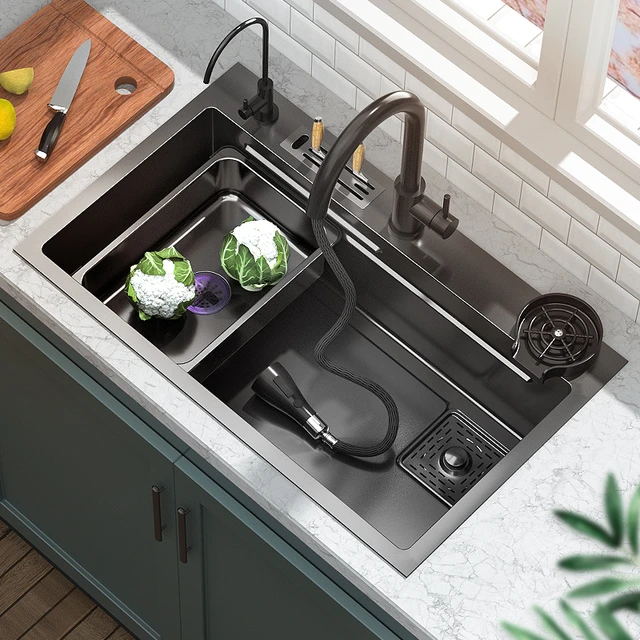
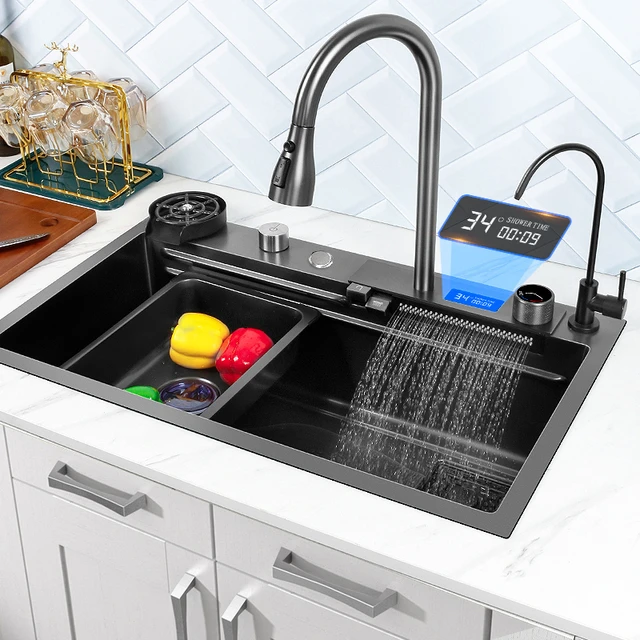
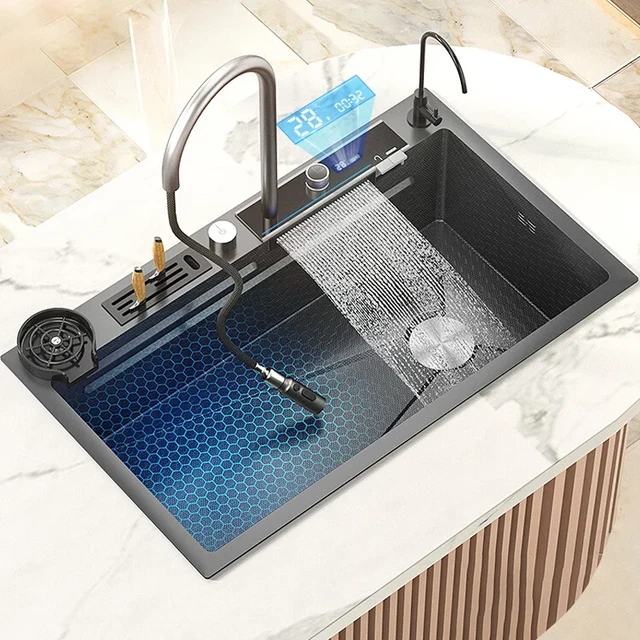
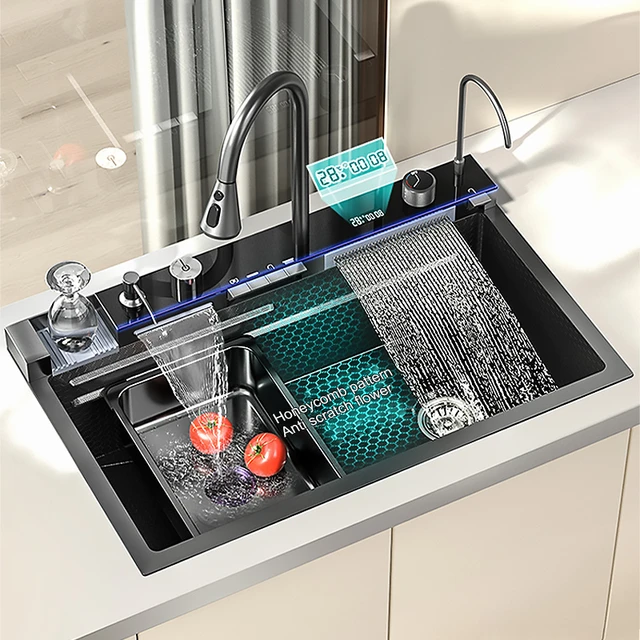
Considerations for Choosing a Kitchen Sink and Faucet:
Sink Size:
Measure your kitchen space and choose a sink size that fits comfortably without overpowering the countertop.
Material:
Consider the durability and maintenance requirements of different sink materials such as stainless steel, composite granite, cast iron, or porcelain.
Bowl Configuration:
Decide on the number and size of bowls based on your usage preferences and kitchen needs. Single bowl, double bowl, or even triple bowl sinks are available.
Sink Depth:
Determine the depth of the sink based on your usage requirements, such as accommodating large pots or providing ample space for washing dishes.
Mounting Style:
Choose between top-mount (drop-in), undermount, or flush-mount sink installation based on your countertop material and aesthetic preferences.
Faucet Compatibility:
Ensure that the sink you choose is compatible with the faucet style and installation you have in mind, whether it be a single-hole, three-hole, or wall-mounted faucet.
Faucet Finish:
Consider the finish of the faucet, such as chrome, brushed nickel, or oil-rubbed bronze, to complement the overall kitchen design and style.
Faucet Type:
Select the faucet type that suits your needs, such as a standard single-handle or double-handle faucet, a pull-down sprayer, or a touchless option for added convenience.
Water Efficiency:
Look for faucets with WaterSense labels to ensure they meet water-saving standards and help conserve water.
Quality and Warranty:
Research reputable brands known for producing high-quality sinks and faucets. Check for warranty information to ensure long-term satisfaction and coverage for any potential issues.
By considering these factors, you can choose the right kitchen sink and faucet that not only meet your functional needs but also enhance the overall aesthetic appeal of your kitchen space.
 Conclusion
Removing a kitchen sink may initially seem challenging, but by following the step-by-step instructions provided in this guide, you can complete the process with confidence and efficiency. Remember to disconnect the water supply, remove the sink drain components, detach the sink from the countertop and mounting hardware, and properly clean the countertop after sink removal. With the right tools, adequate preparation, and systematic removal techniques, you can successfully remove your kitchen sink, allowing for repairs, replacements, or upgrades. Proceeding with caution and attention to detail will ensure a smooth removal process, providing you with the opportunity to enhance your kitchen’s functionality and aesthetics.